Dial Pad Printing Process
February 27, 2024
As promised, here is the complete process from making the cliche to printing on a real dial. This dial is just a test dial, but it showcases the entire printing process. In all, this video represents a year of work to learn and perfect all of the various aspects of printing a dial.
A huge thank you to my dial pad printing mentors, Dennis Carignan and Lindsay Stämpfli, for the tips and tricks on the dial plate (cliche) manufacturing and ink selection!
Finally, I can move on to other watchmaking activities… like making the chronograph movement!
Pad Printer Plates & Dials
November 25, 2023
Thanks to Denis Carignan for the help and mentoring to create the new pad printing plates for the Model One and Model Two.
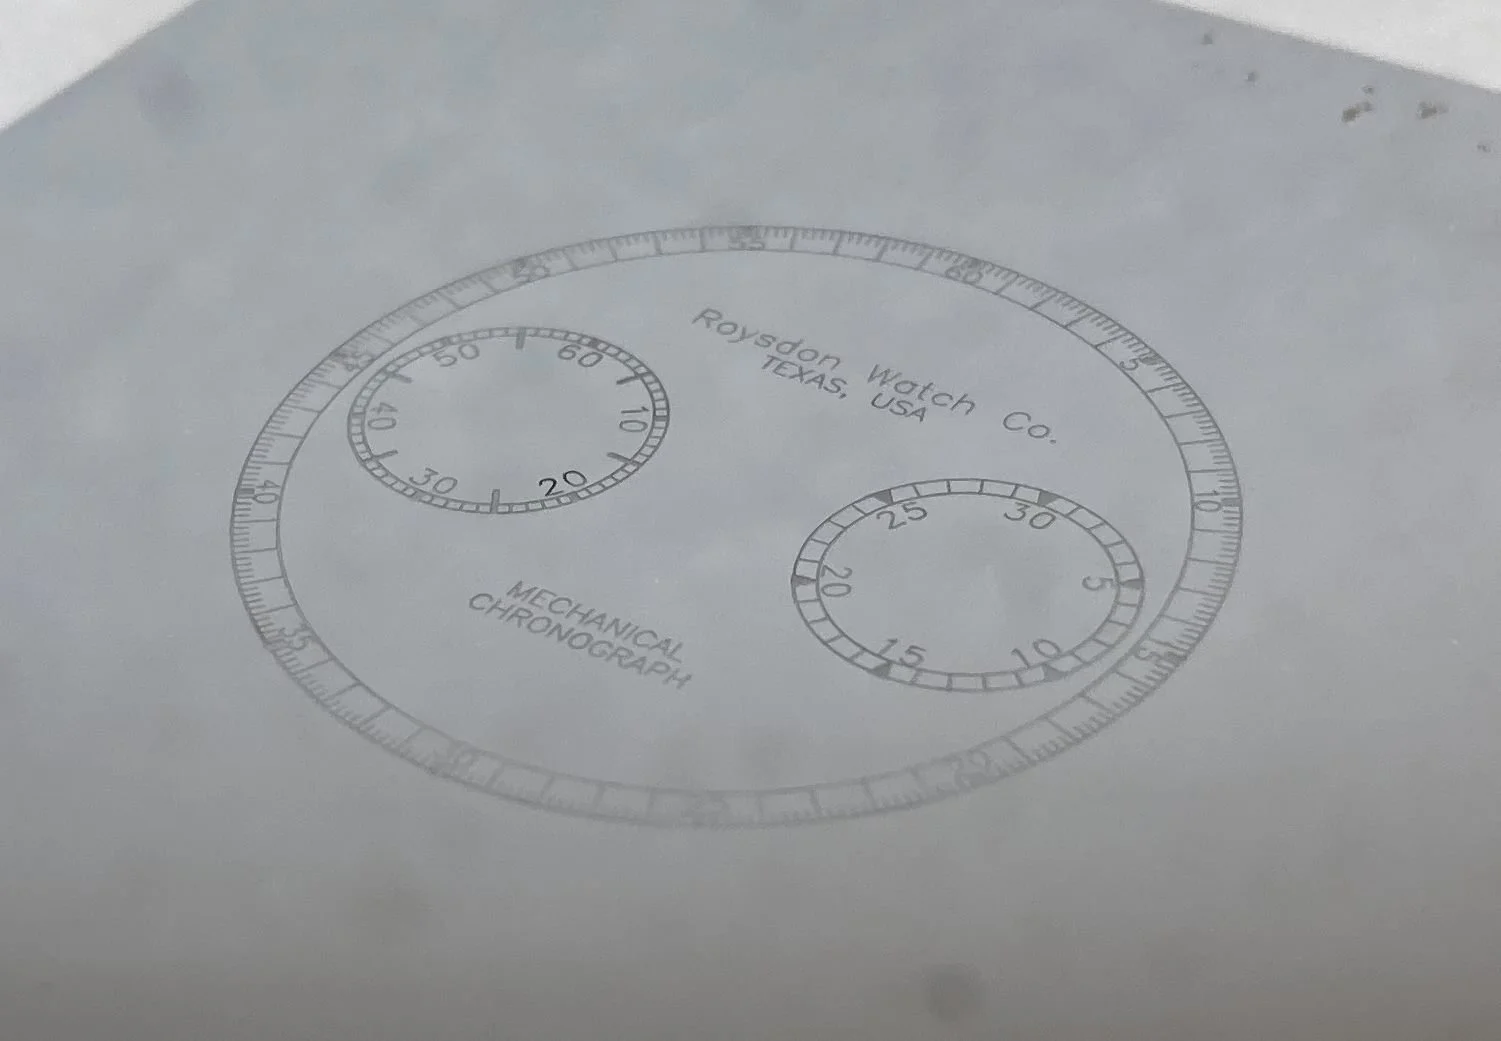
Here are pictures of the plates (top) using the “Carignan process” and a TEST PRINT on plastic (bottom) with a mechanical pencil for scale. It is really hard to get a good photo of a large mirror polished plate, it literally reflects everything.
Next test will be on a real dial!


Pad Printer Modifications
November 7, 2023
The manually-operated pad printer has now undergone several months of testing and fine tuning.
We added a digital microscope and machined an articulating arm / mount to facilitate and improve alignment of the print to the dial.
Machined and built a “flip top” with clear Lexan over the dial to help improve alignment of the print to the dial.
We switched from Duralaze plates ("cliches") to D2 Tool Steel plates,
We also added an XYR micrometer platform and plate holder the laser and made the same plate holder for the pad printer.
We added a fume extractor to the laser, improving shop conditions considerably.
Finally, we are using Mohawk Lacquer as a top coat on the dial, and we switched from Sigma MP ink to PPG OneShot Ink. The results are greatly improved!
We will post a dial printing video soon.
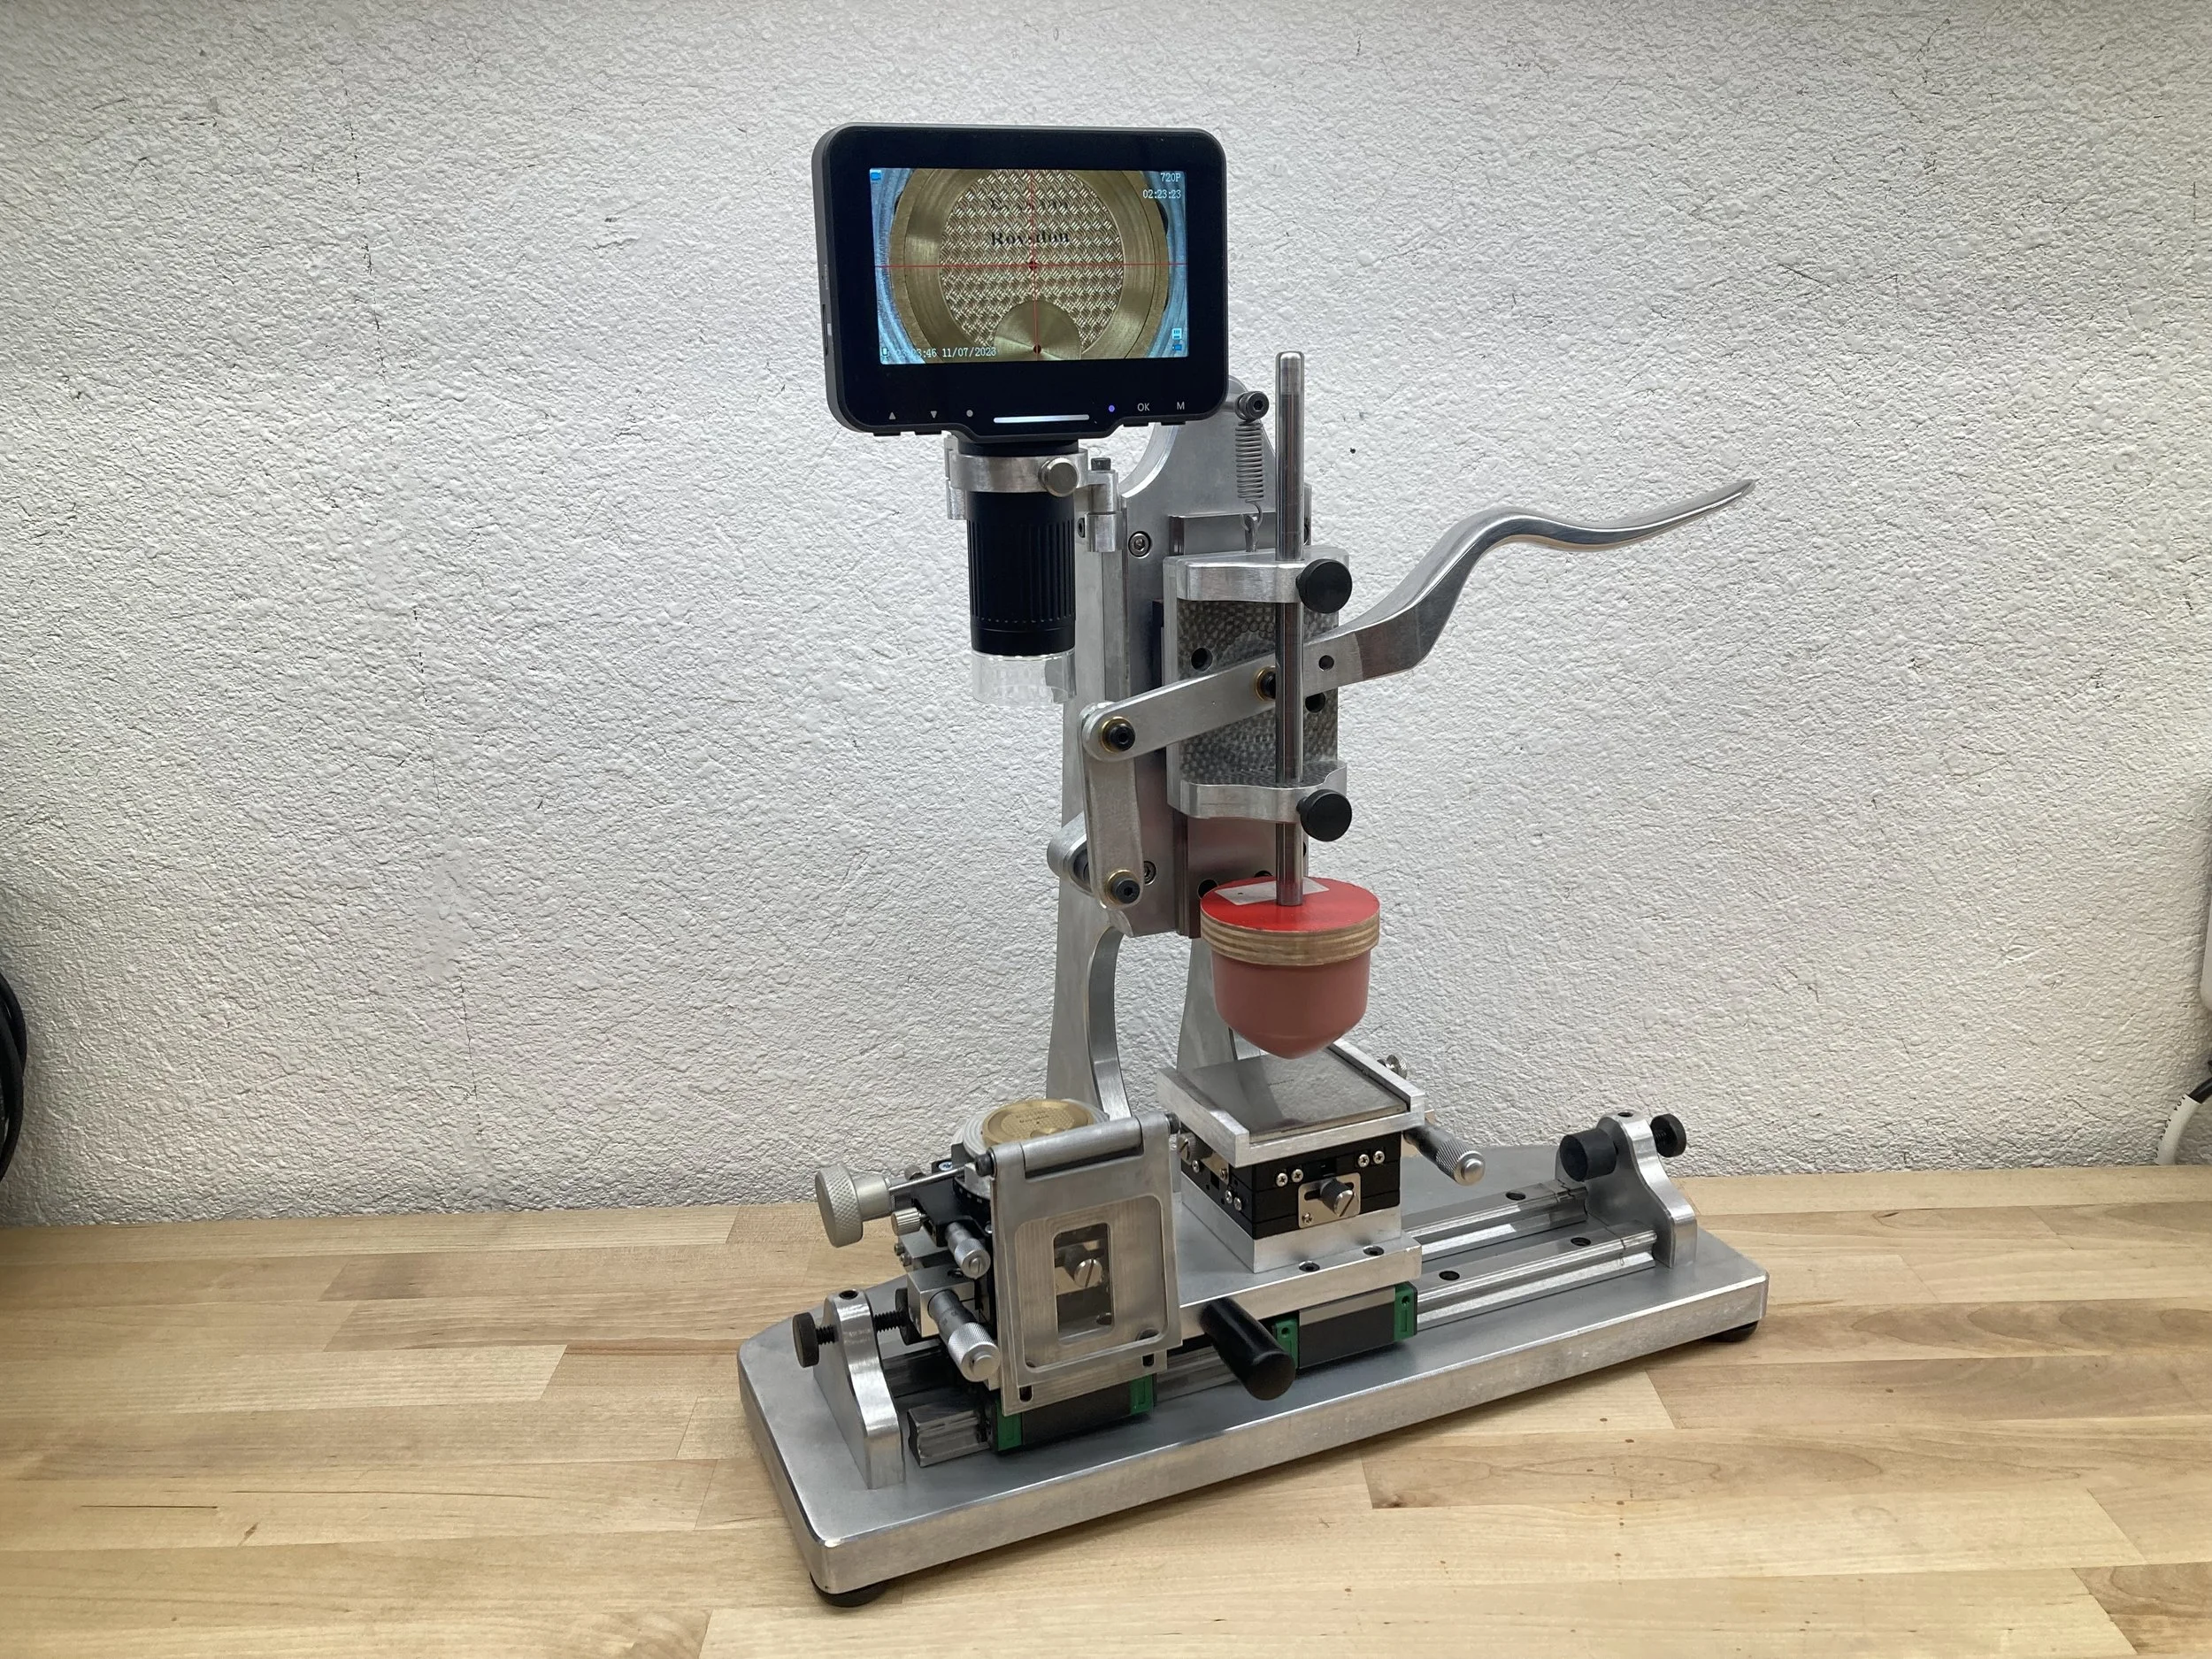
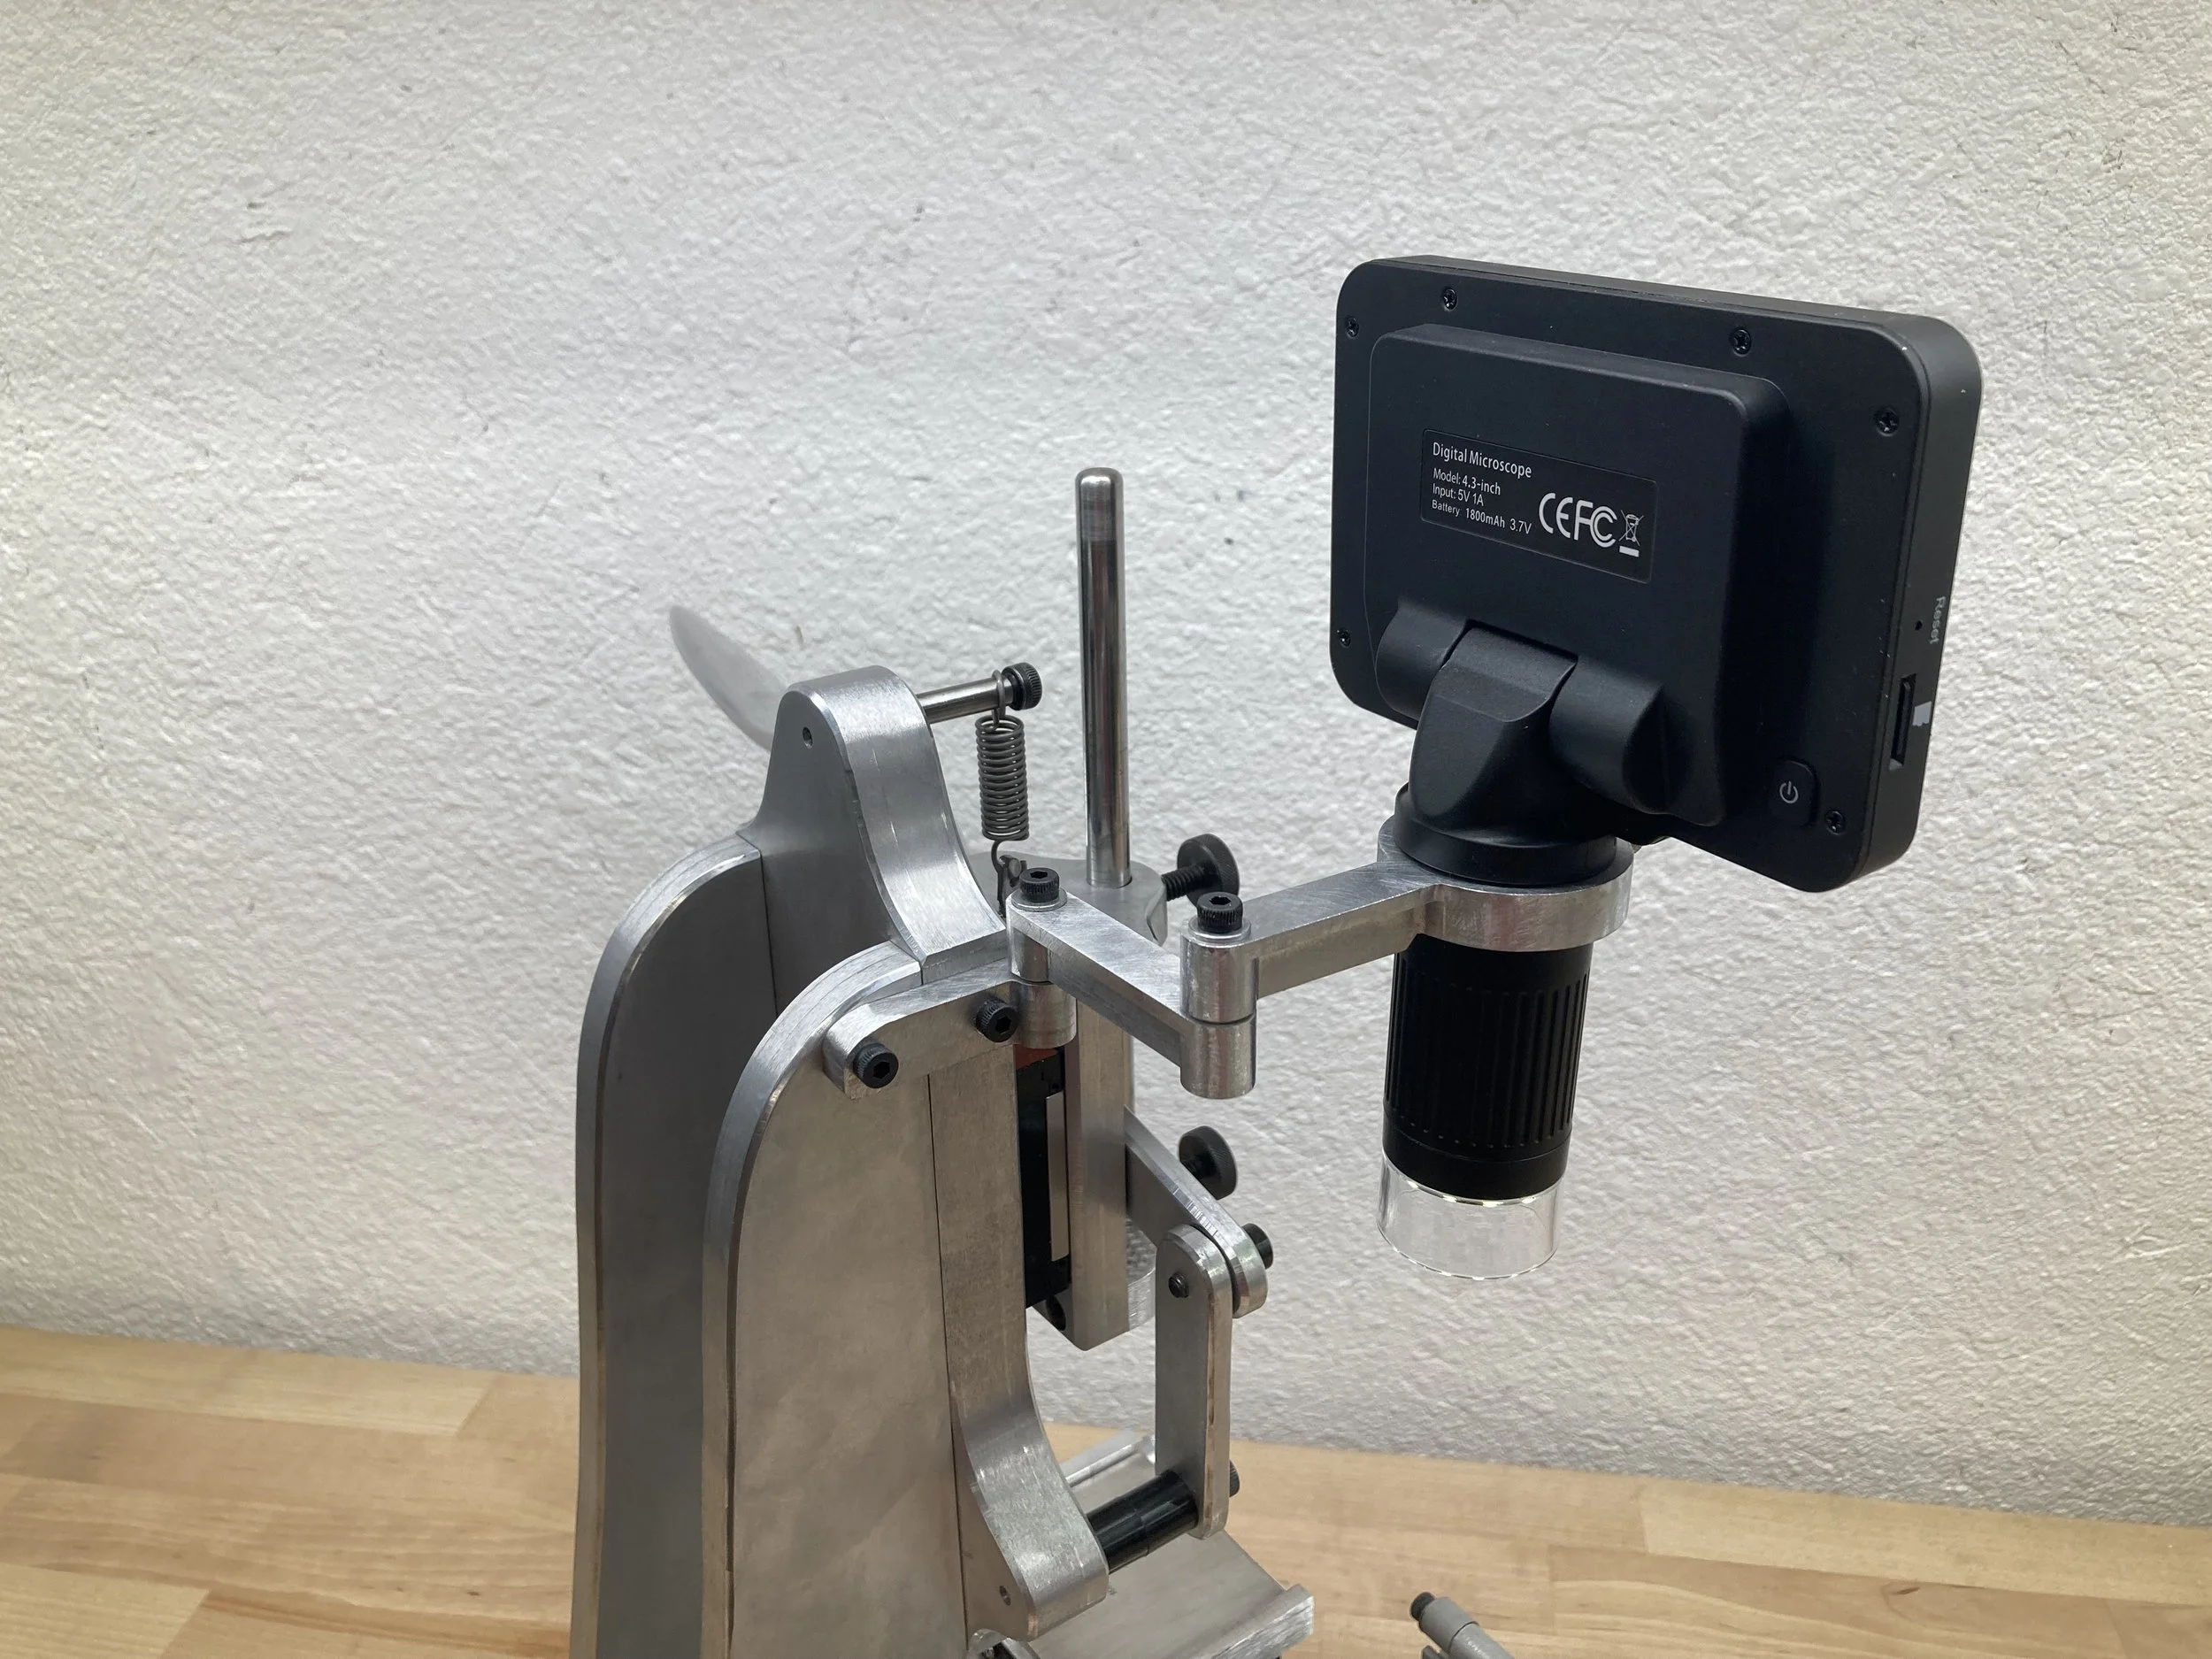
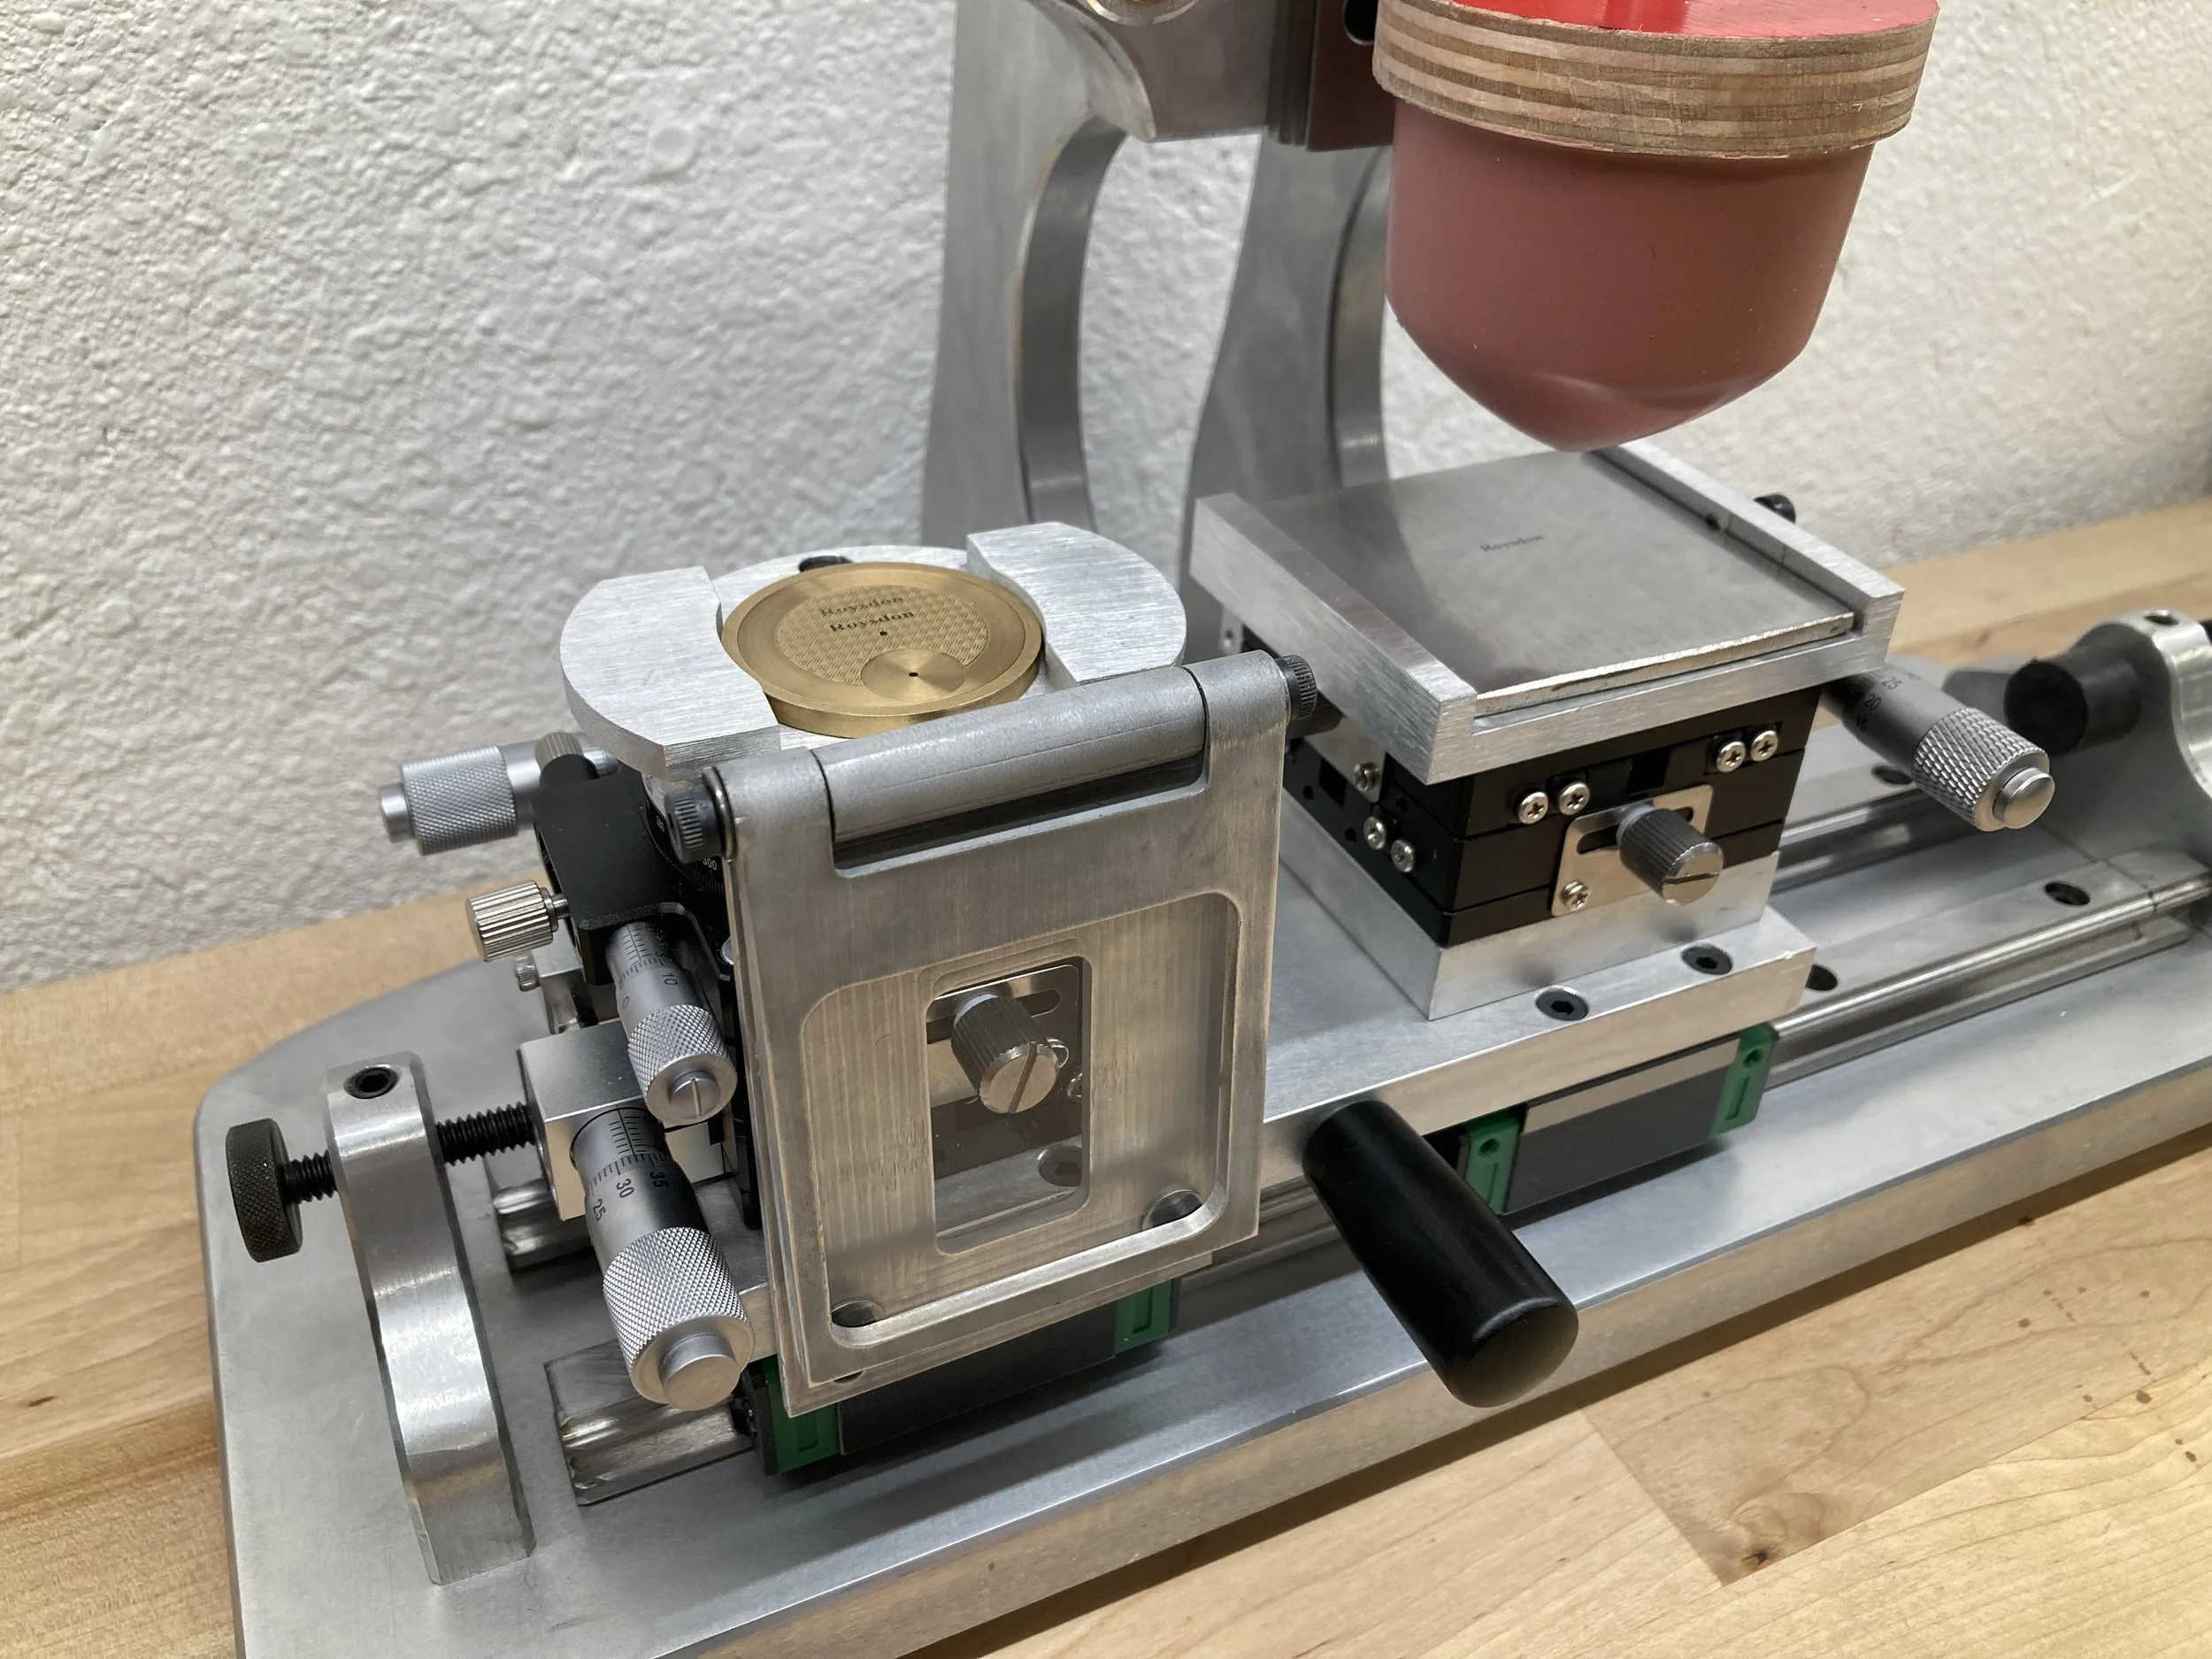
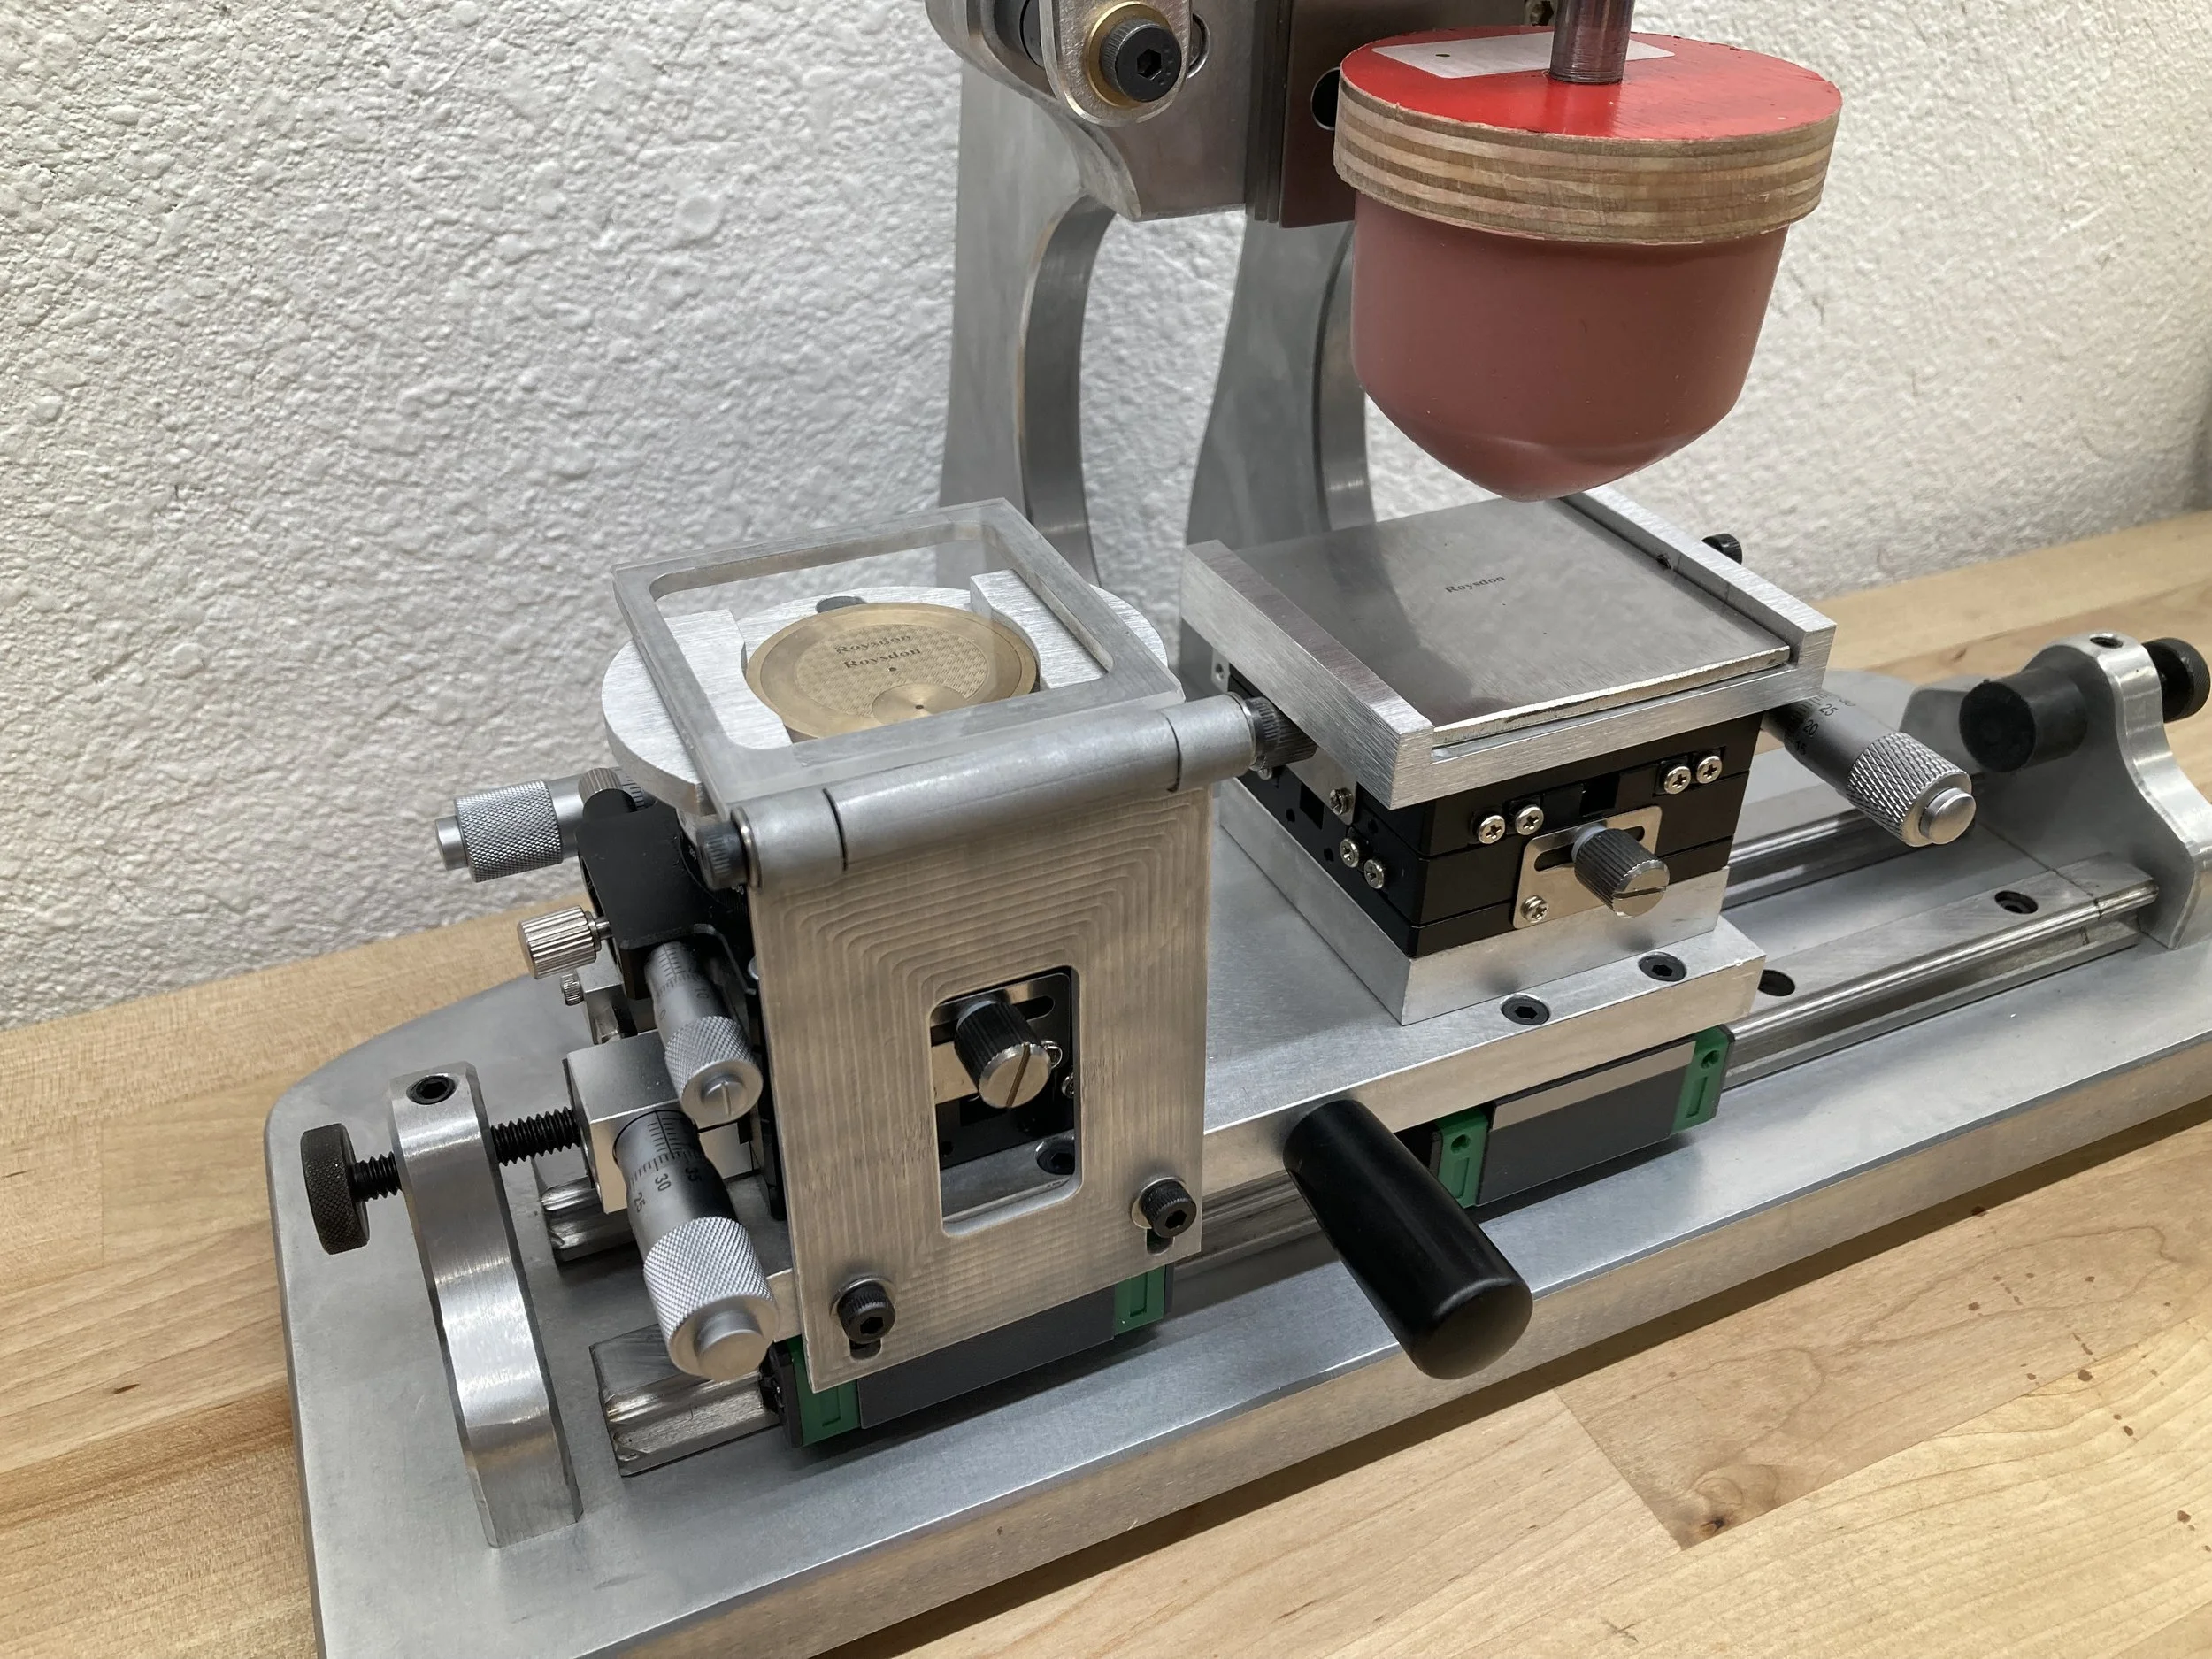
Plate Etch Depth
September 22, 2023
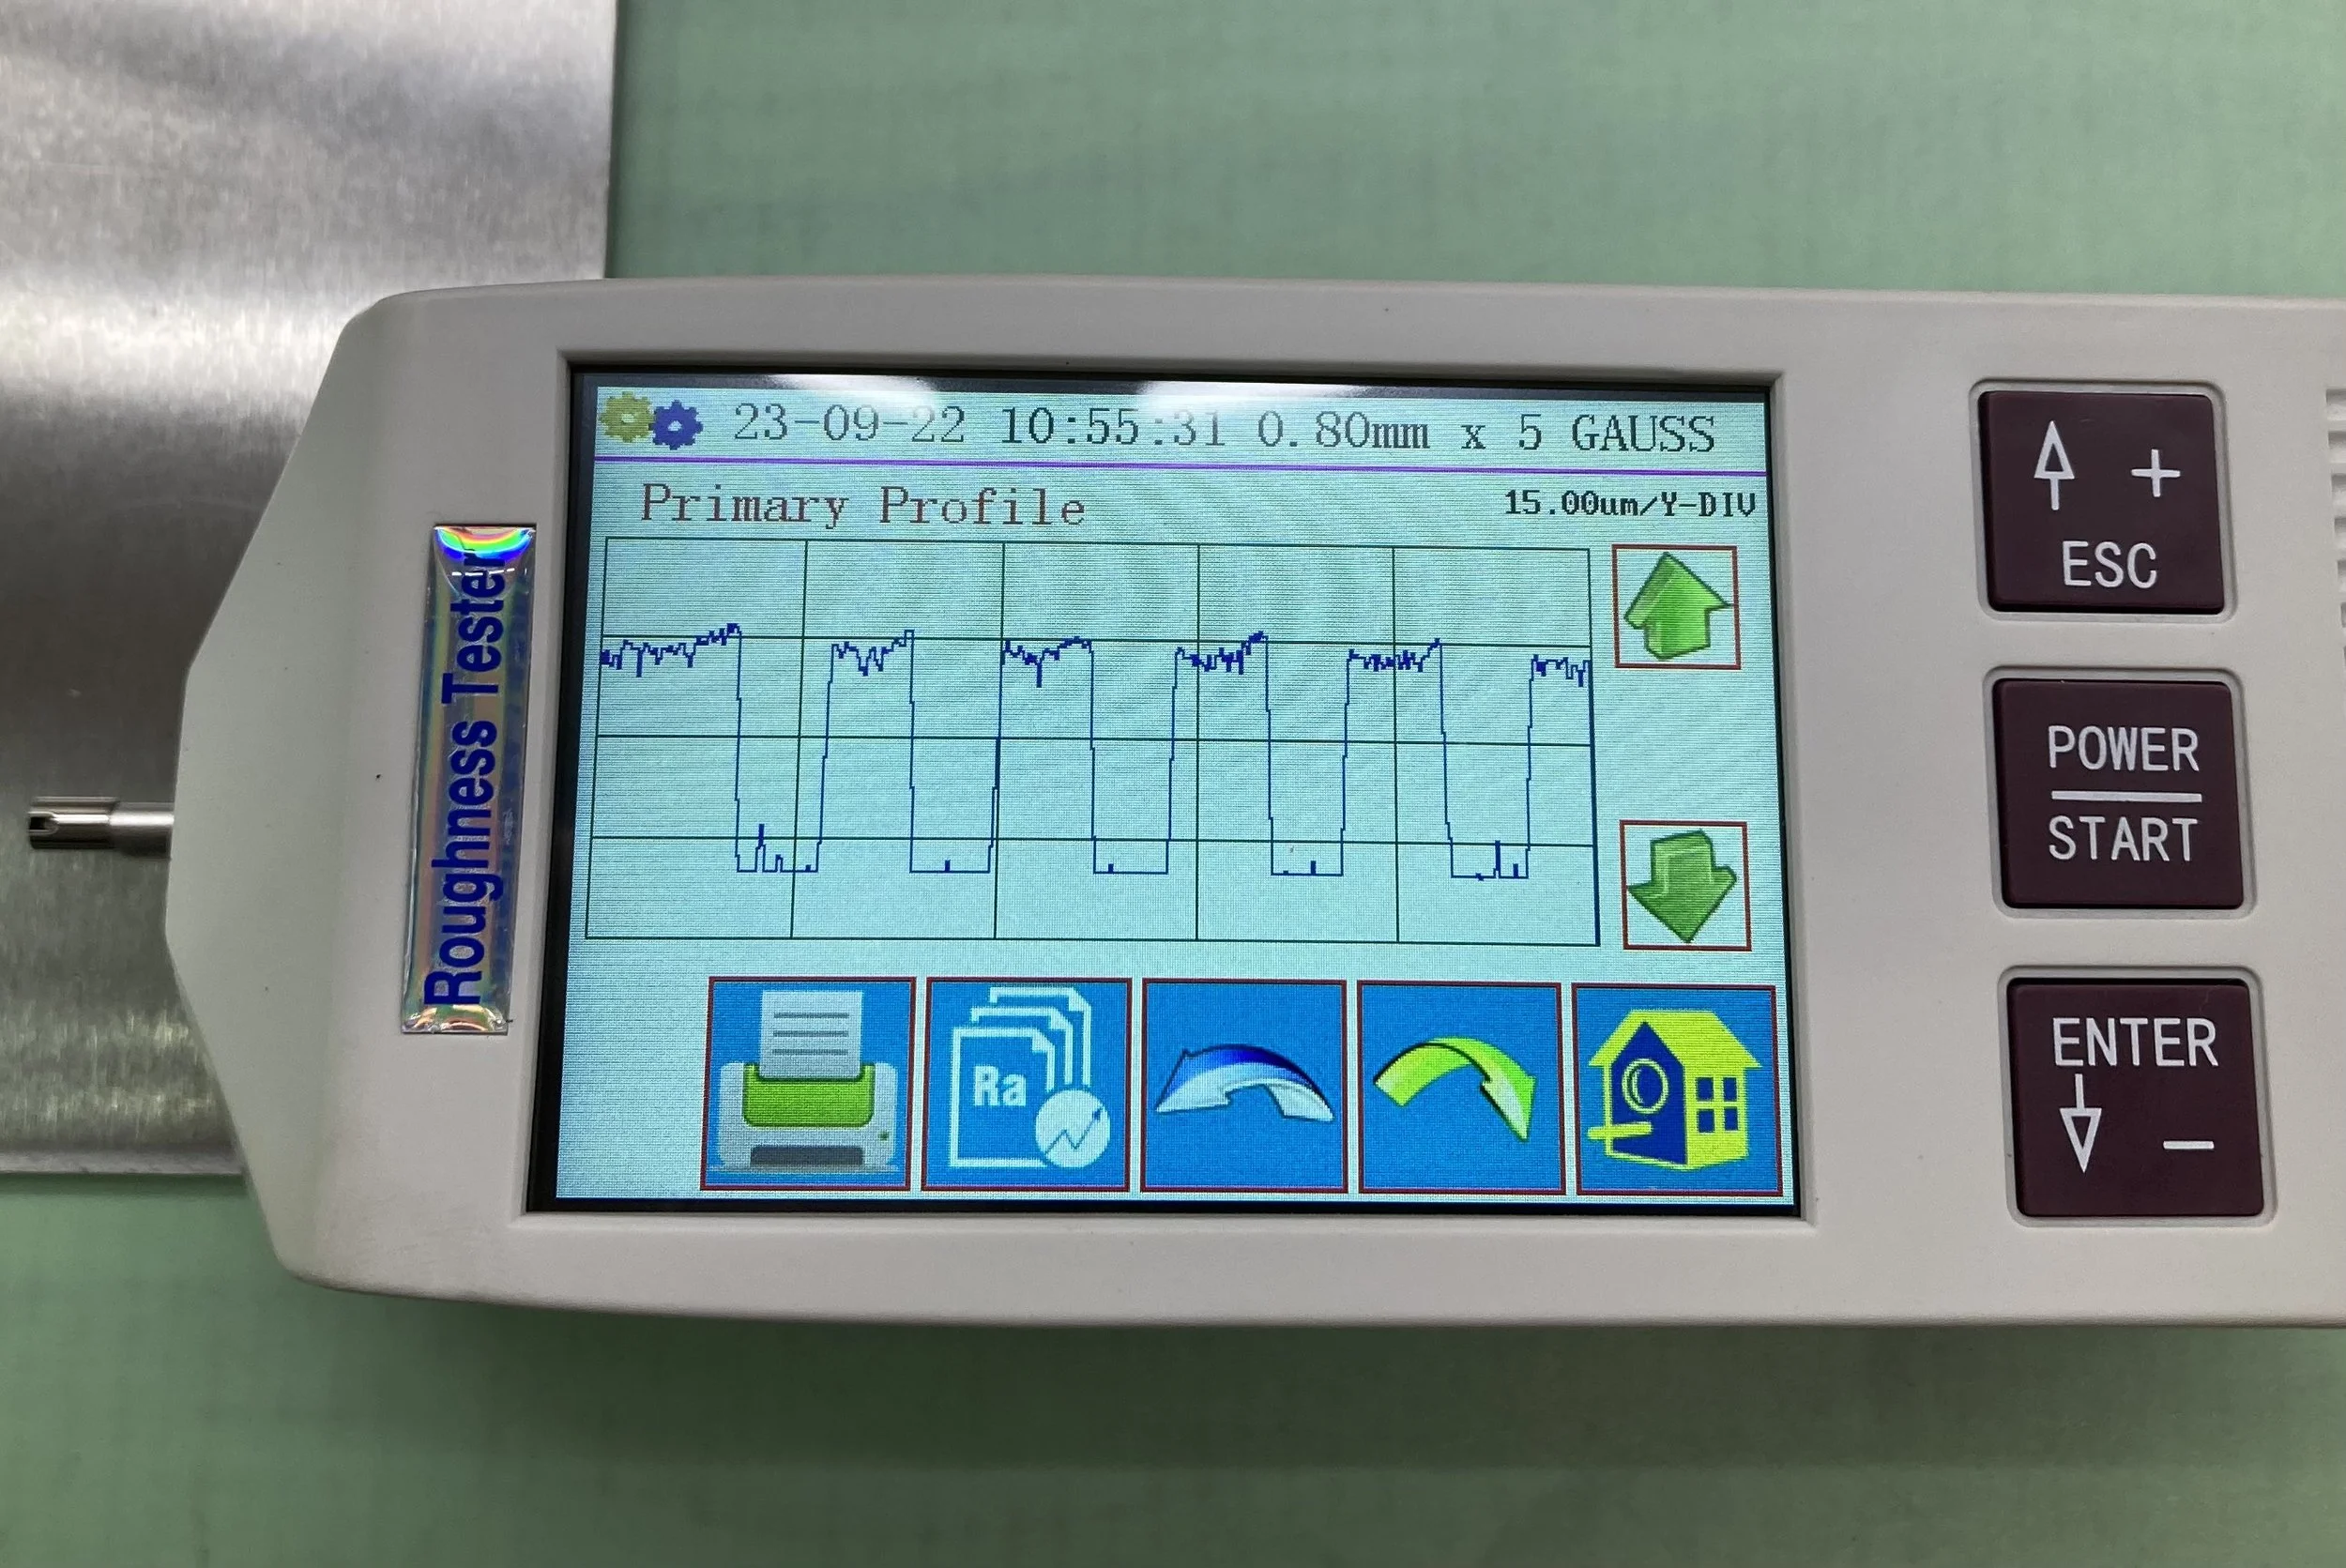
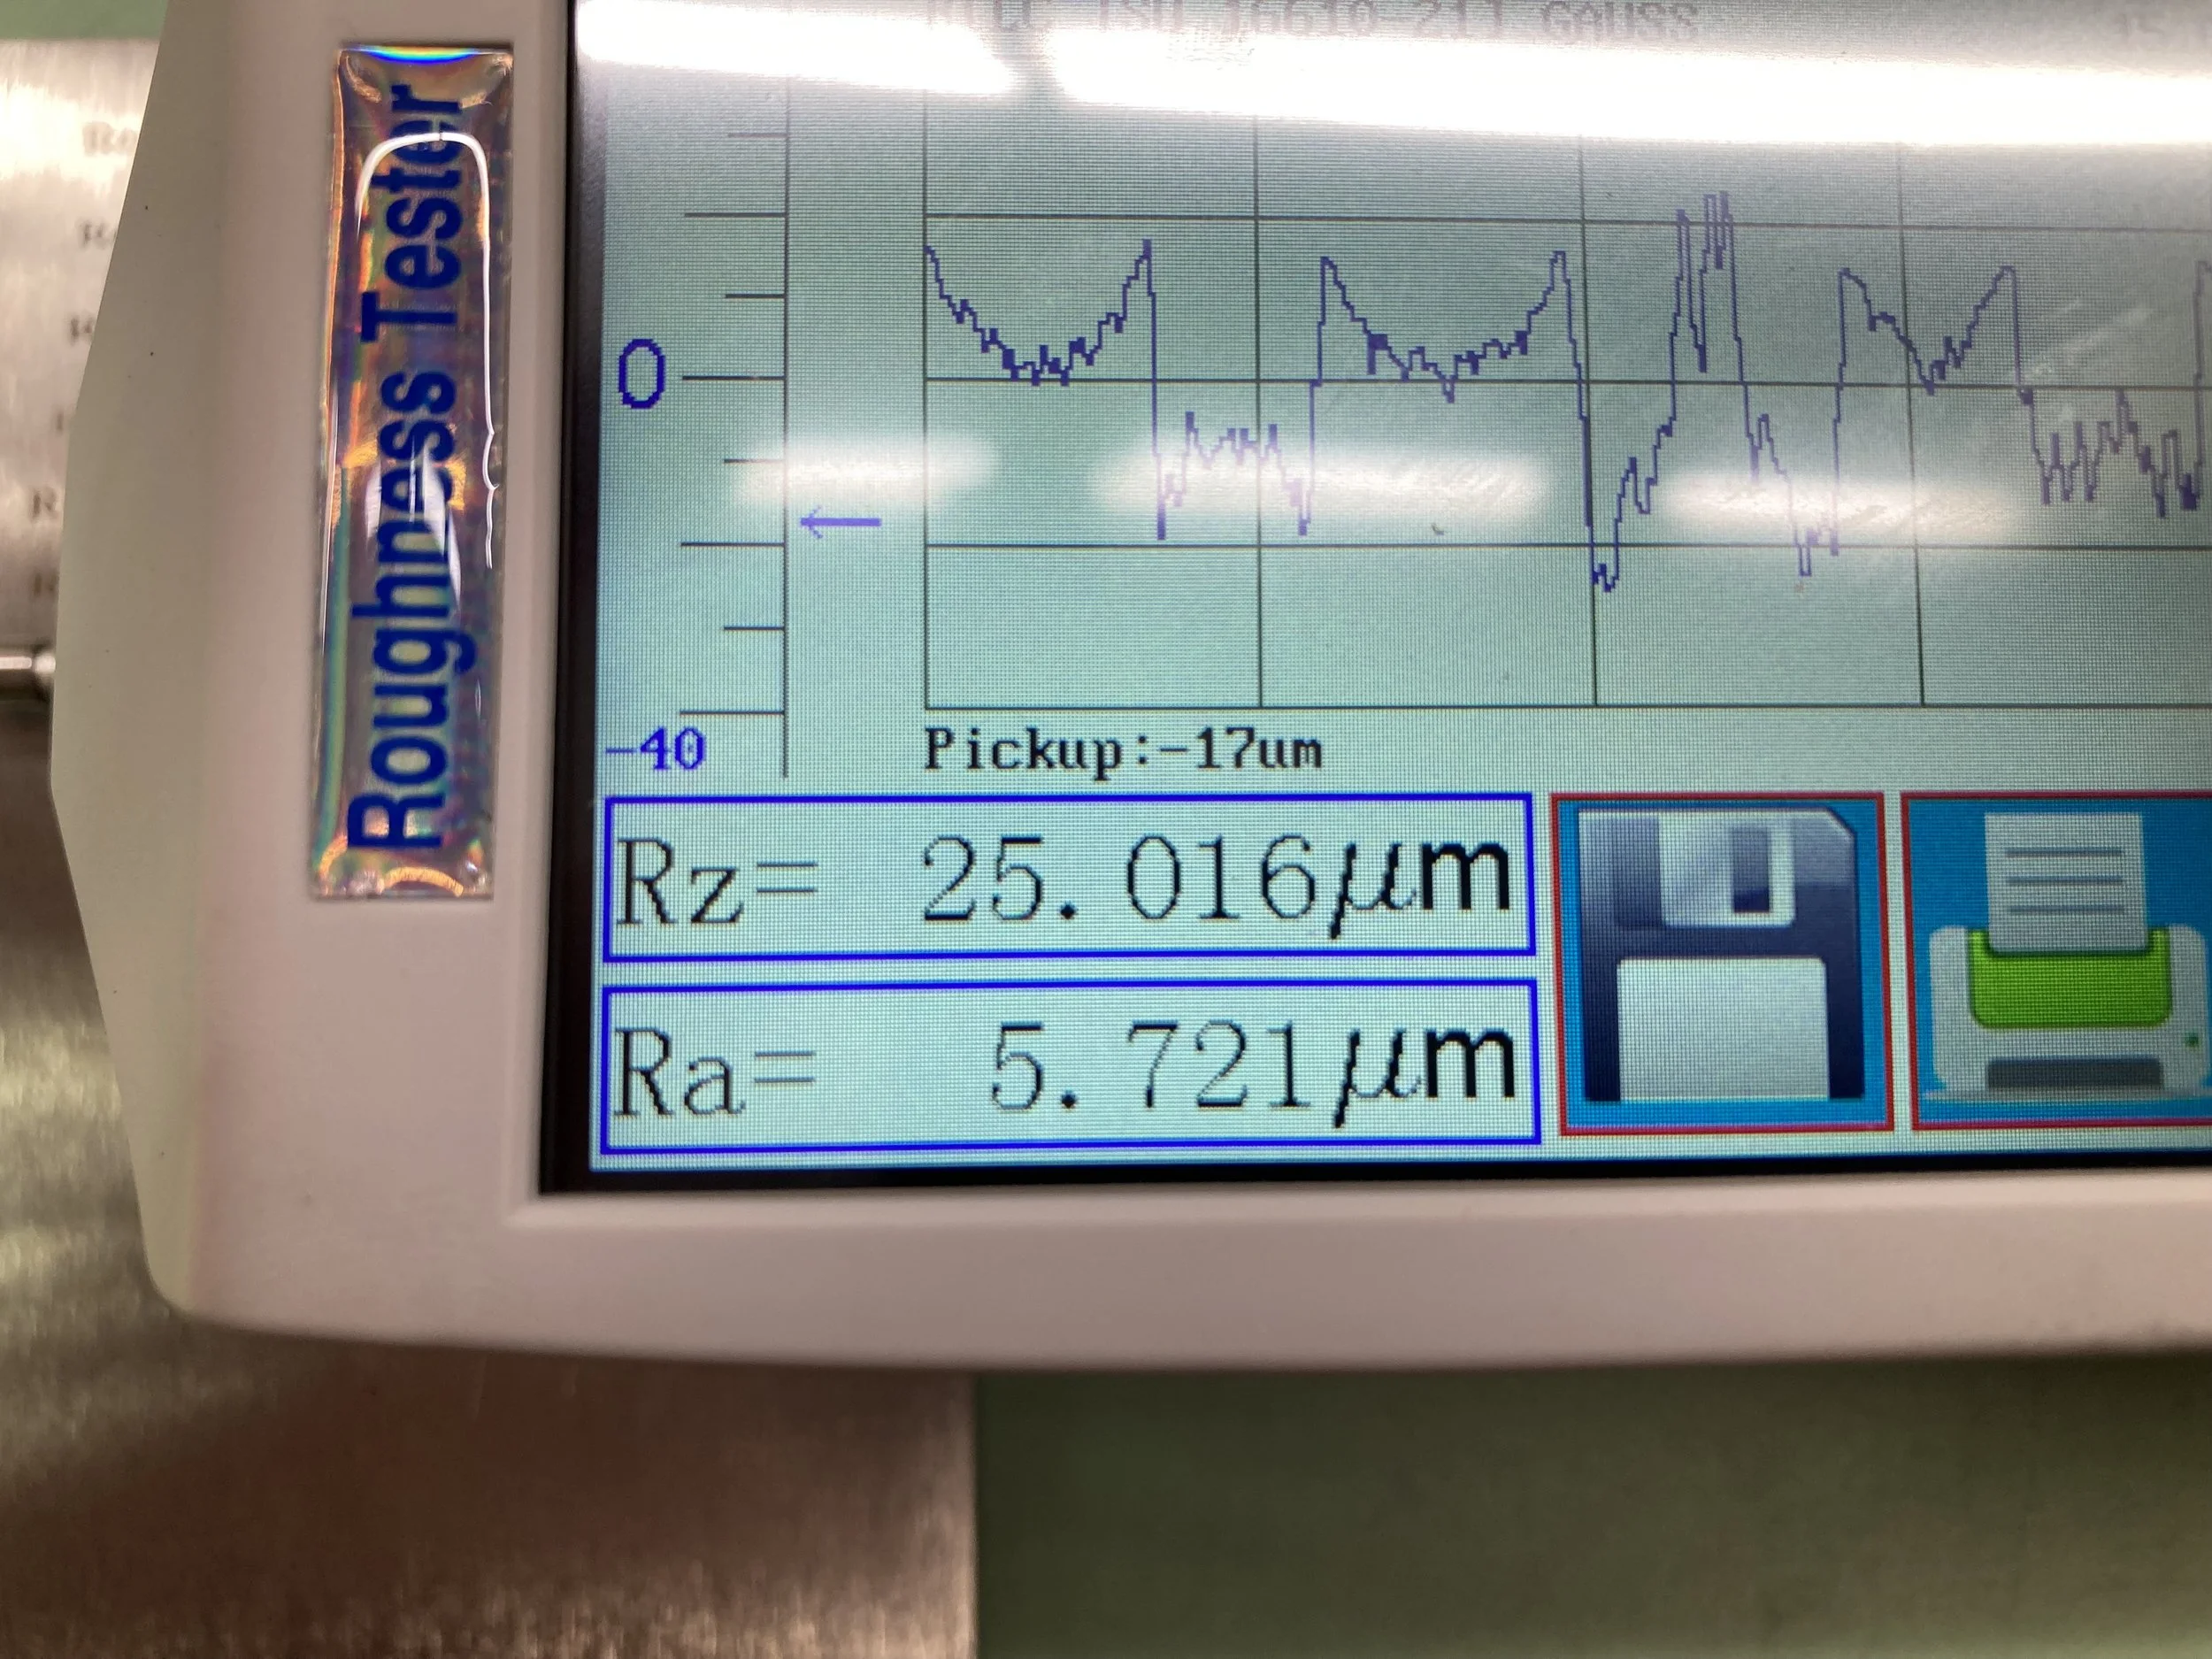
Pad printing requires a plate (“cliche”) that is etched to a very precise depth of 25 microns (+/- 1 micron). To achievethis took several months of experimentation with laser settings (see the last photo), cliche materials, surface finishing techniques, and verification of depth using a Surface Roughness Tester. While we are pleased with the results, it was a tedious process.
Our goal in our work is to be authentic and honest, so we are sharing our results and settings with you. In our final results we used D2 Tool Steel, and a JPT 50W fiber laser with 2 laser settings:
Etch Pass: Hatch = 0.01 mm at 0 and 90 degrees, parallel path and outline, Loop Count = 2, Speed = 500 mm/sec, Power = 35%, Frequency = 50 kHz.
Finish Pass: Hatch = 0.01 mm at 0 and 90 degrees, parallel path and outline, Loop Count = 1, Speed = 600 mm/sec, Power = 20%, Frequency = 60 kHz.
The etch is then cleaned with a 800 grit diamond lapping plate, and the edges of the engraved letters are individually cleaned with a sharp x-acto blade.
The engraved text is 2 mm tall, with the thin lines measuring 0.01 mm wide.
All laser test files and examples can be downloaded here.

Pad Printer Testing
September 16, 2023
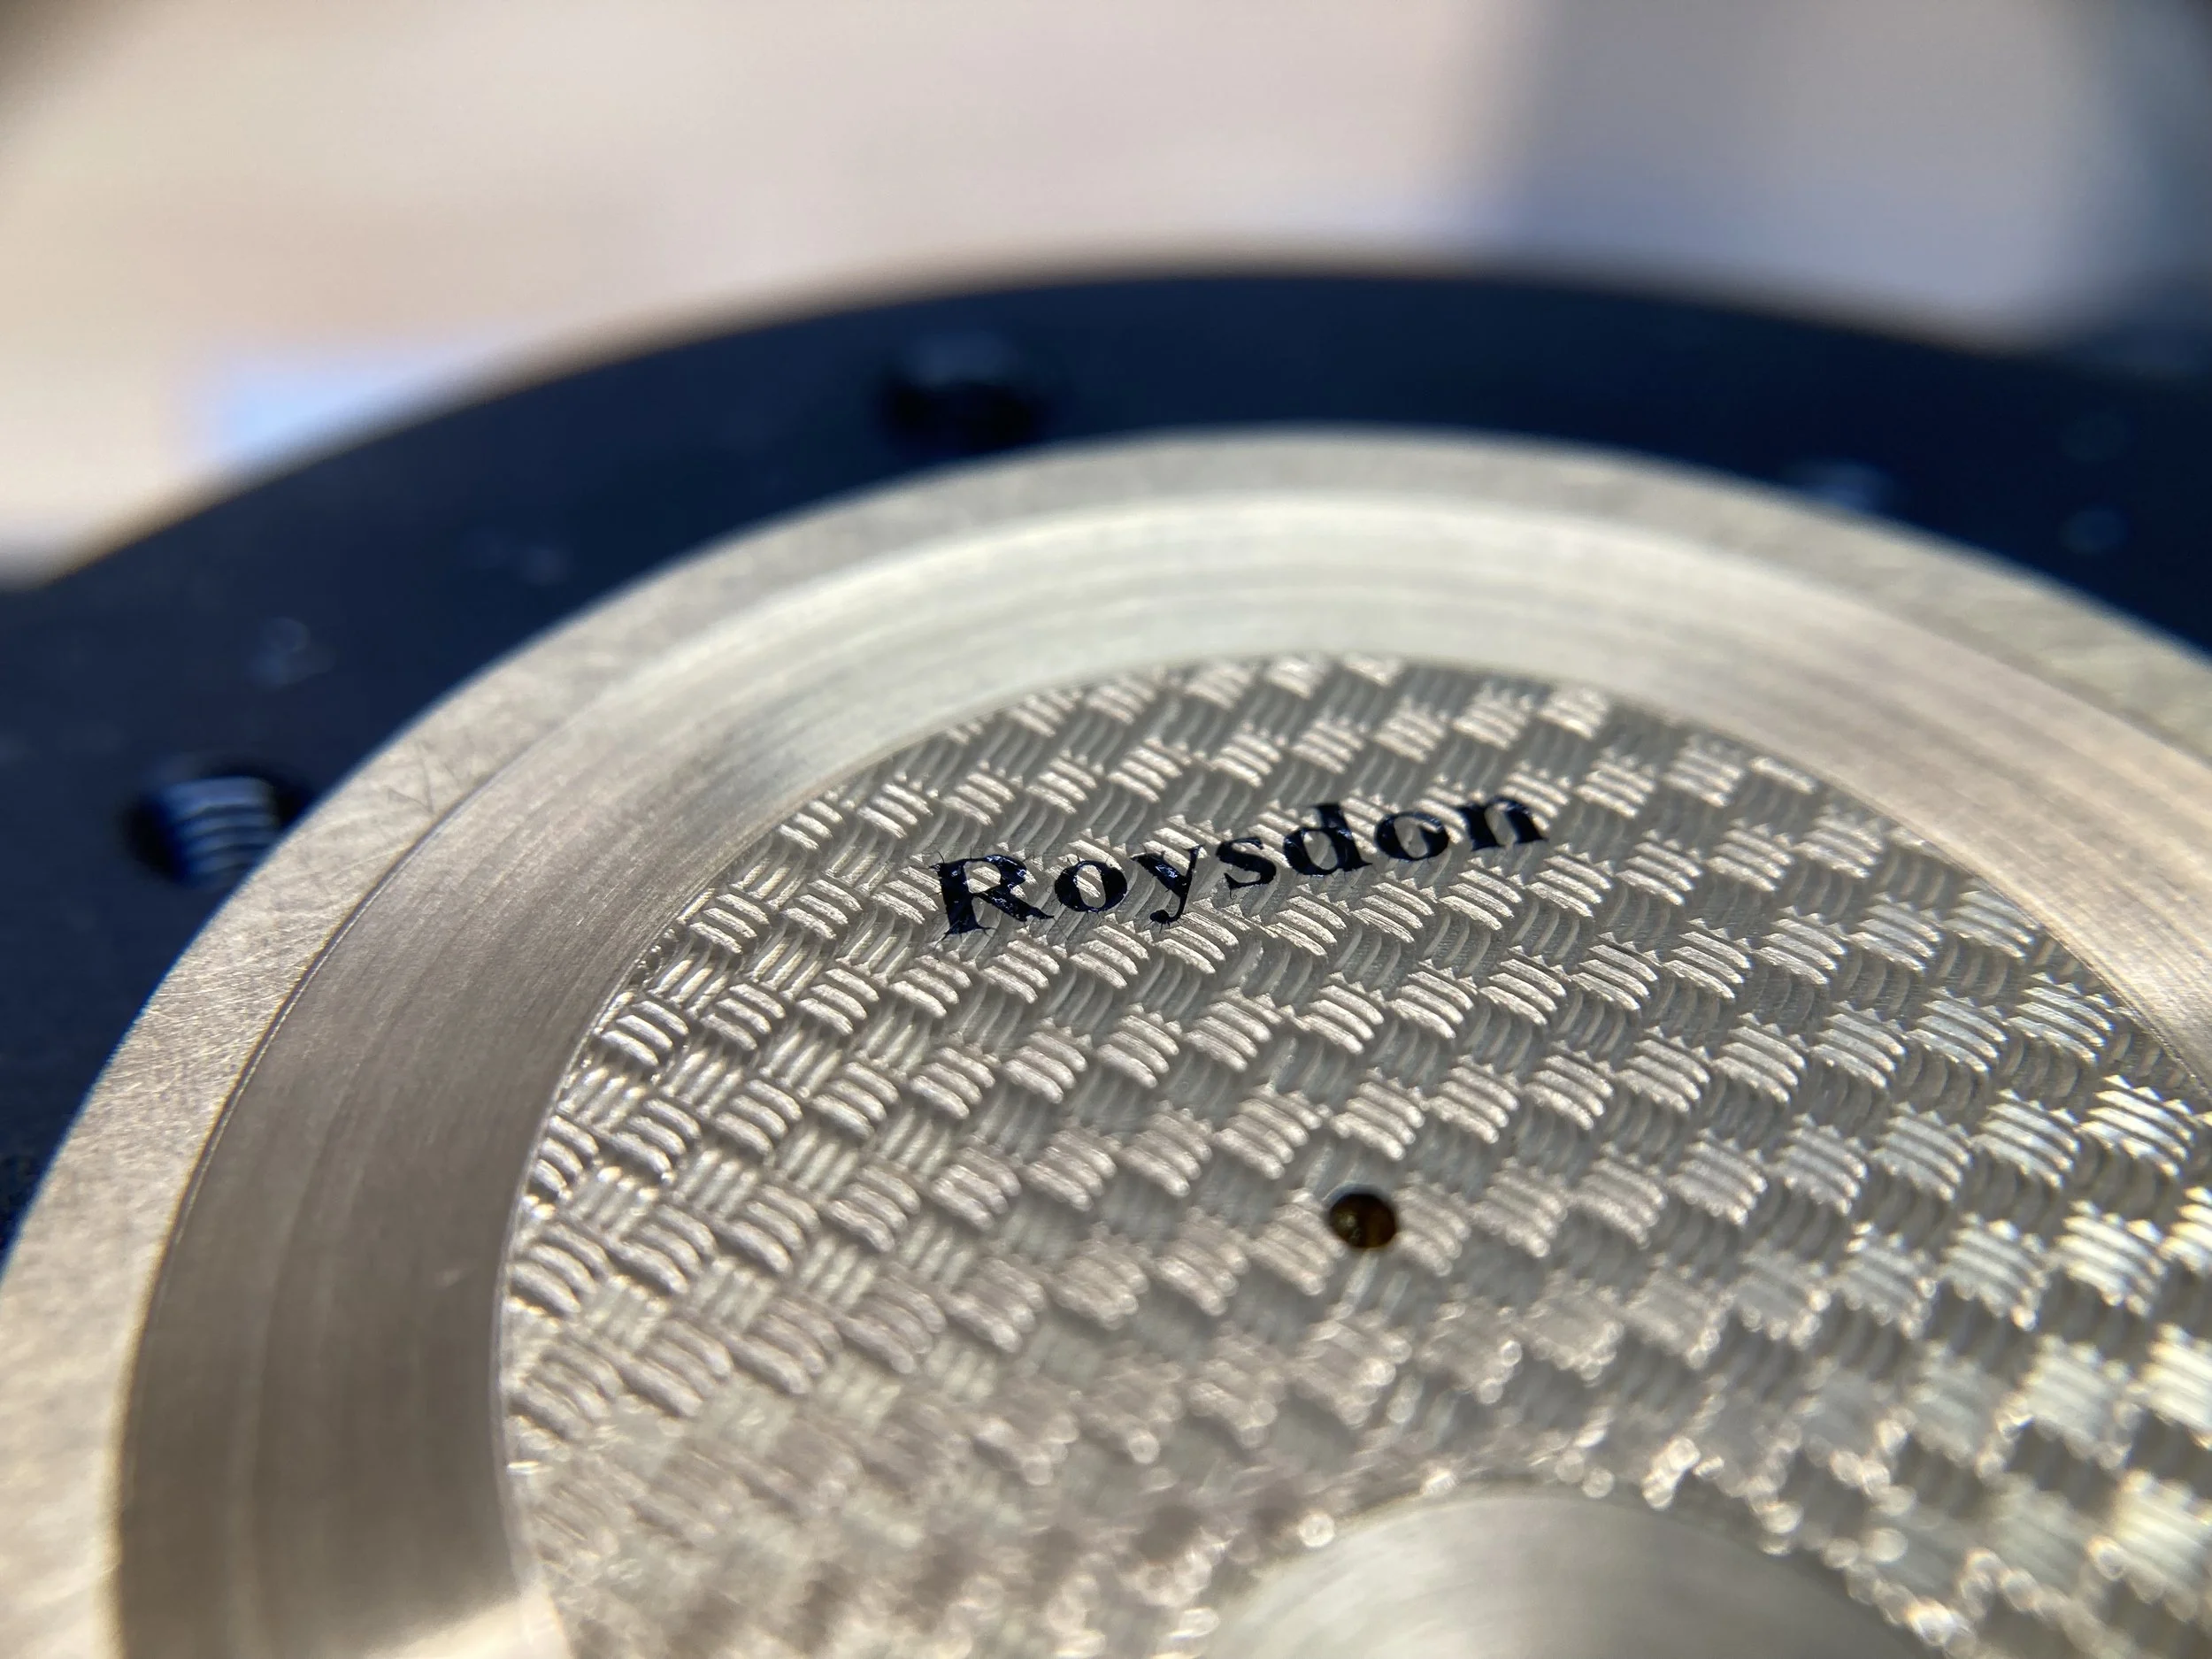
The manually-operated pad printer has now undergone several days of testing that required several steps and fine tuning. The Duralaze "cliche" is laser engraved to a depth of 25 microns on a 50W fiber laser; this laser etch process took nearly 60 iterations to get the depth and etch pattern correct. Then we use a 60 durometer silicone pad with 2-part black ink. The exact viscocity of the ink took 30 iterations to achieve a viscocity and flash time that would correctly transfer the ink from the cliche to the dial without gaps or "splats" in the printed letters. The text in the photo is 2 mm tall, with the thin lines measuring 0.01 mm wide. More testing is necessary to achieve acceptable results for watch dials.
*We use a Duralaze cliche made by InkCups, silicone pads and Sigma MP inks by Printex USA, and a JPT 50W fiber laser.
Dial Pad Printer
July 2, 2023
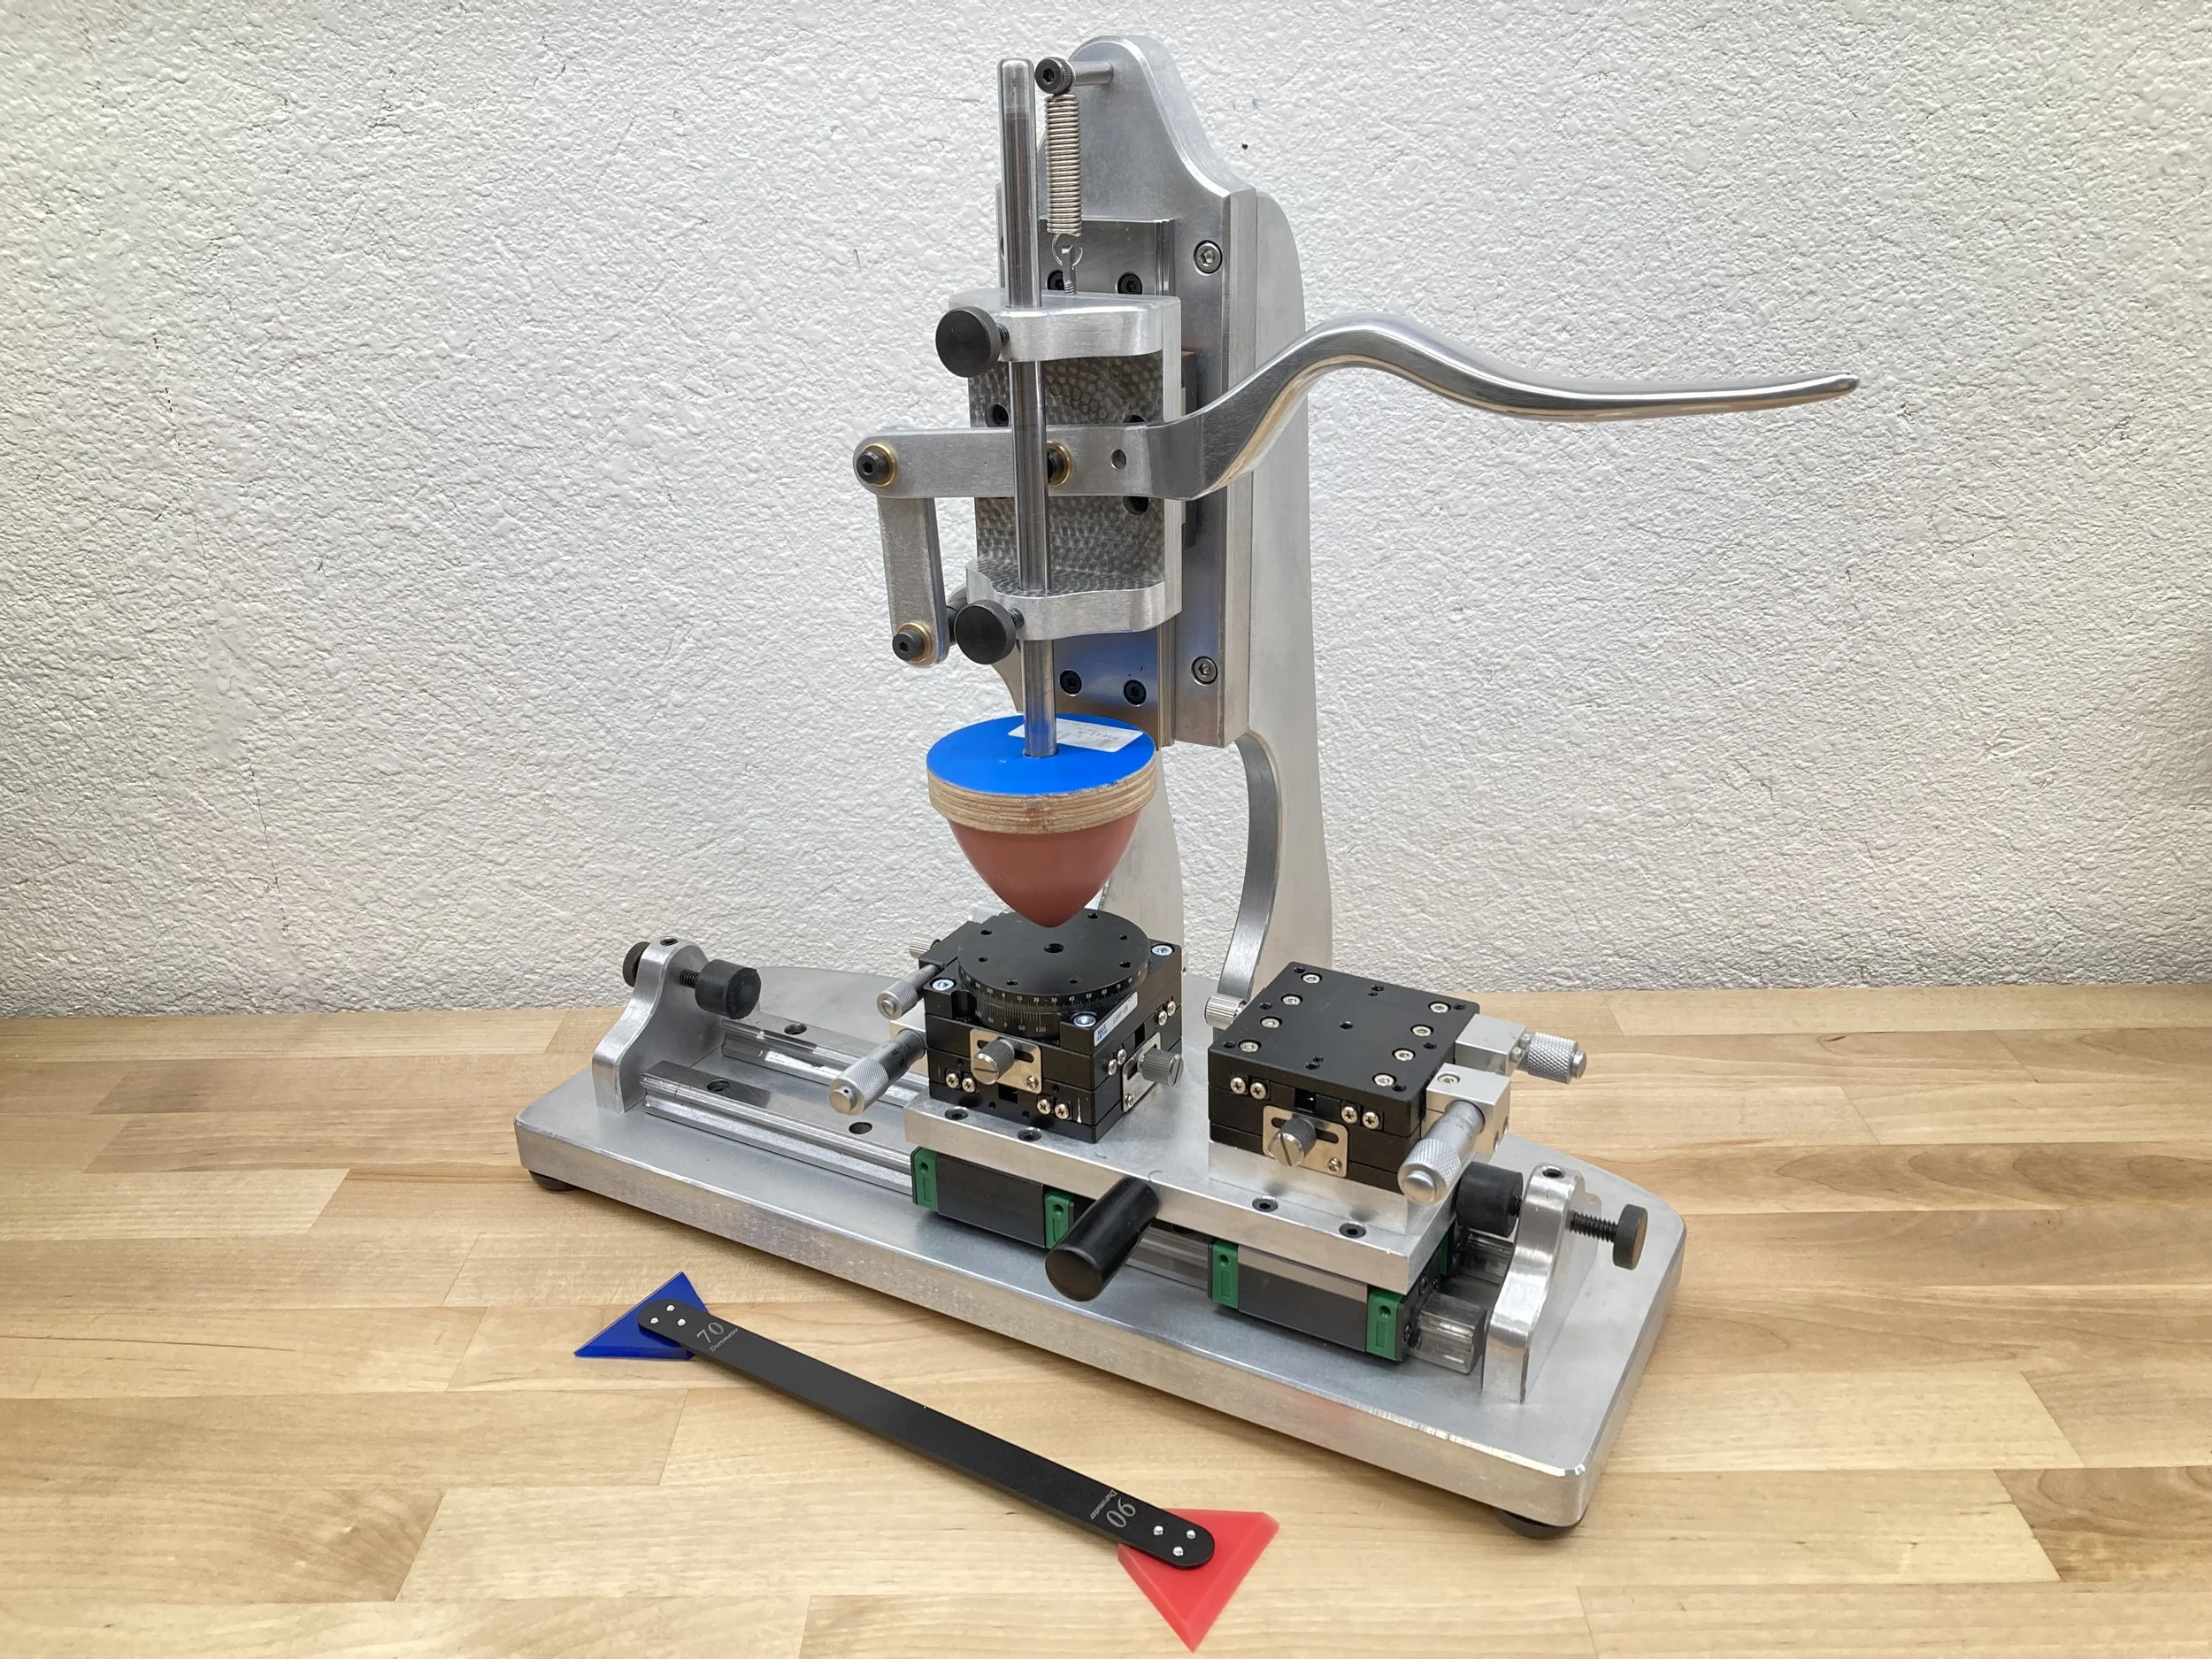
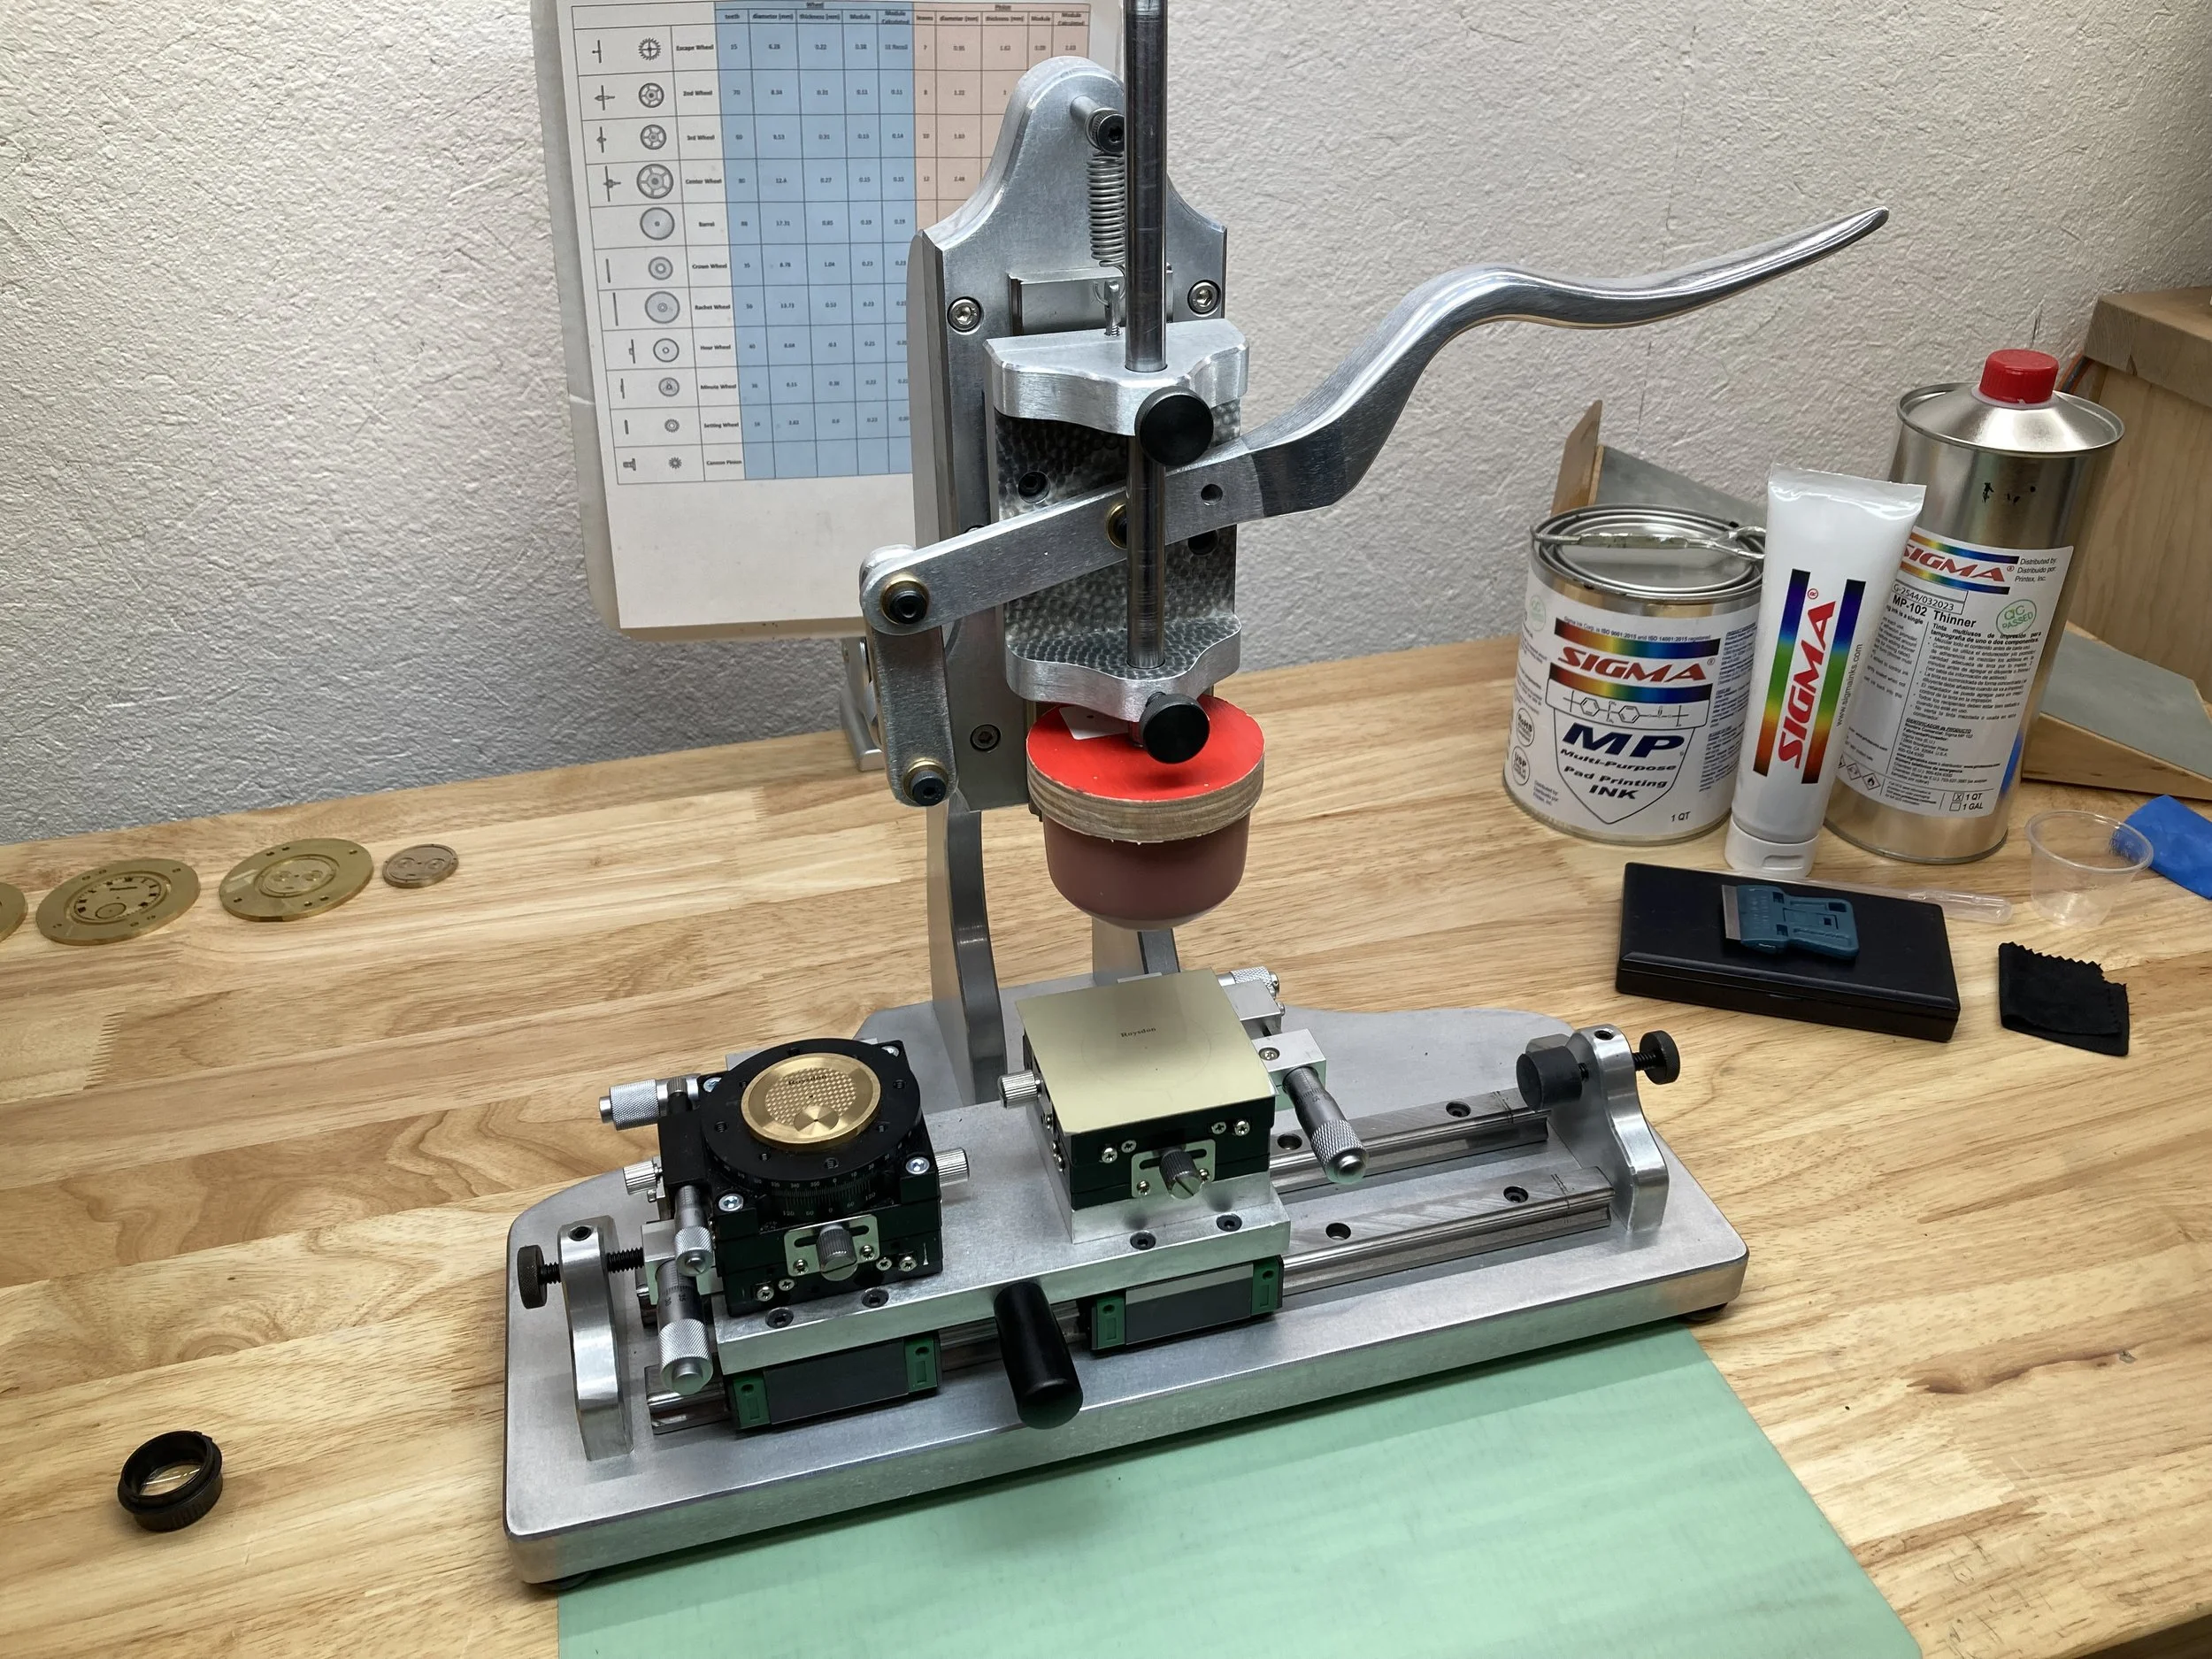
This manually operated watch dial pad printer was designed and built by Dr. Paul F. Roysdon in the Lone Star Lab. The Roysdon Model 2 is well underway, but there are some specialized tools that are needed. For example, the field area of the Model 2 dial has guilloche from both a straight-line engine and rose engine, but the tachymeter and lettering are applied with a pad printer. Vintage pad printers are rare and not accurate, so Dr. Roysdon made this pad printer from scratch using primarily a band saw, table router, and drill press (this is also a homage to watchmakers of years past)! This tool has the following features:
In true watchmaker fashion, the design has flowing geometry, and all of the edges of the aluminum structure are chamferred and mirror polished. The edges are straight-grained. The shuttle has pearlage applied in a circular pattern around the handle pivot point. The field areas are specular finished.
The handle is carefully sculpted (by hand) and mirror polished.
The XYR micrometer platform (left) holds the dial and provides precise adjustment in X, Y and rotation.
The XY micrometer platform (right) is for the laser-etched cliche and provides precise adjustment in X and Y. This is where the ink is placed before the pad transfers the ink to the dial.
The horizontal travel adjustment knobs use nylon-tipped set-screws to ensure precise end-stop adjustment.
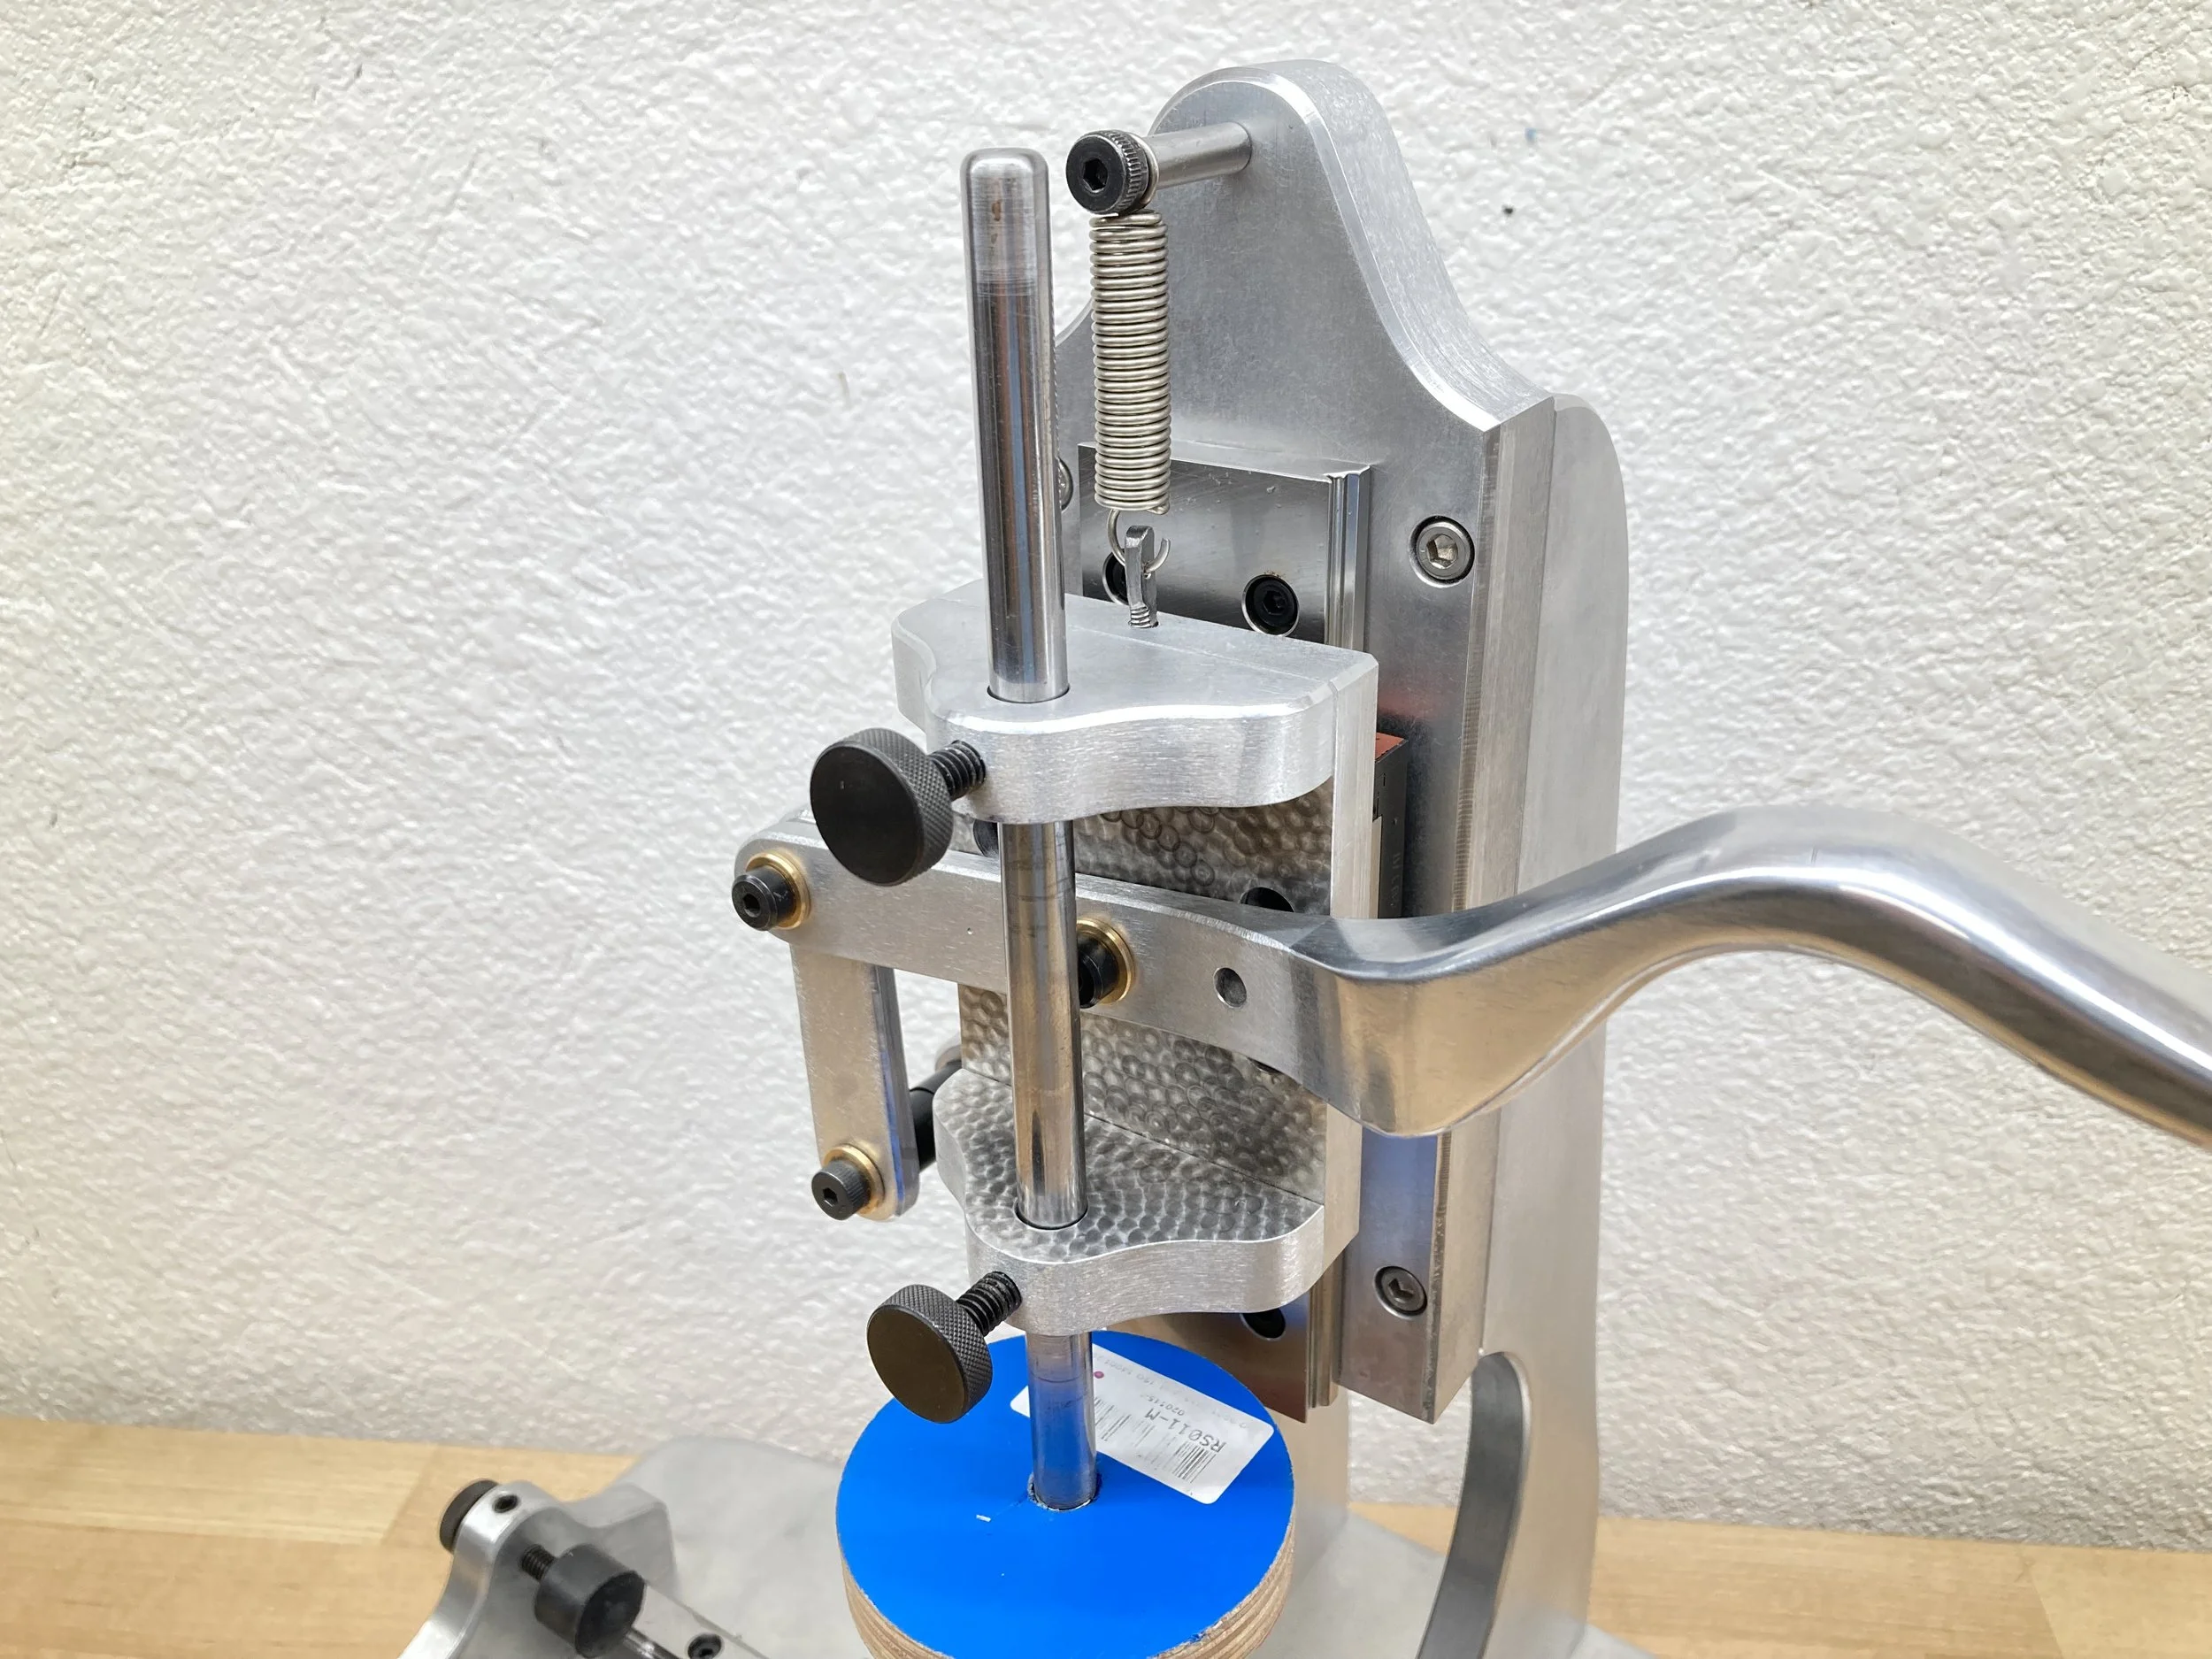
The handle linkage uses bronze flange bearings and precision-ground shoulder bolts at each pivot point to ensure zero-play, zero-binding, and smooth actuation.
The vertical and horizontal shuttles both use ball-bearing linear rails, commonly used on CNC mills.
The metal rod, that holds the silicone pad, is threaded and pointed on one end to provide a secondary purpose (when the pad is removed) as an alignment tool; see the bottom video.
This pad printer took a few days to design in Fusion 360 and 2 weeks to machine mostly by-hand with some operations performed on the NS CNC Elara 4-axis Mill.
In the near future we will post a complete video of the build, plus a print on a new dial.